- Yield: 6
- Prep Time: 2h 00 min
- Cook Time: 5-6 minutes
Easy Rustic Flatbread
I am living the dream with this rustic flatbread!! It's so super easy to put together, and makes enough to freeze for a total of 6 little flatbreads!

(It's ok if you're a little jealous that I didn't have you over for lunch... but next time, for sure!! Just LOOK at that awesome goodness!!!)
I've put my handy dandy KitchenAid Pro to work on this one. Pop all 5 ingredients (yes - only 5!) into the mixer and let it do its work.
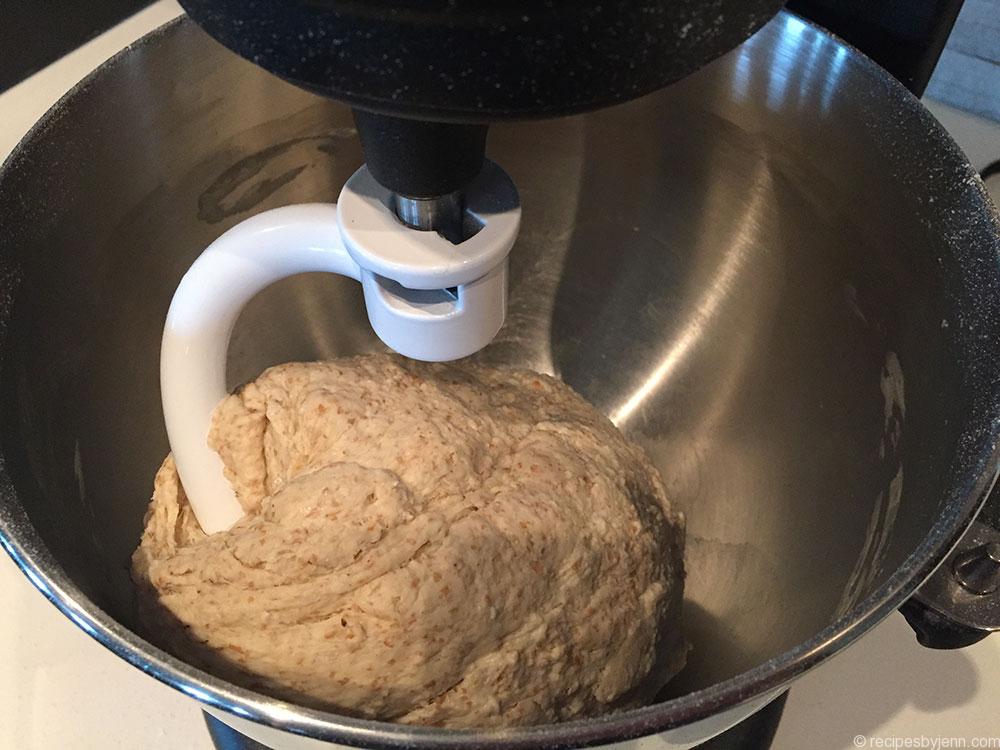
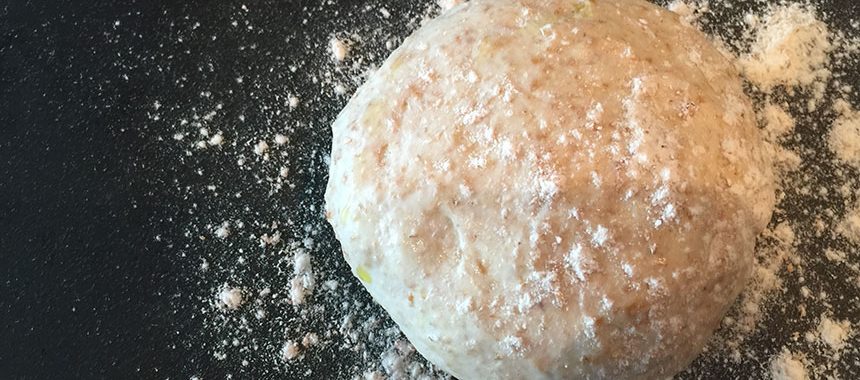
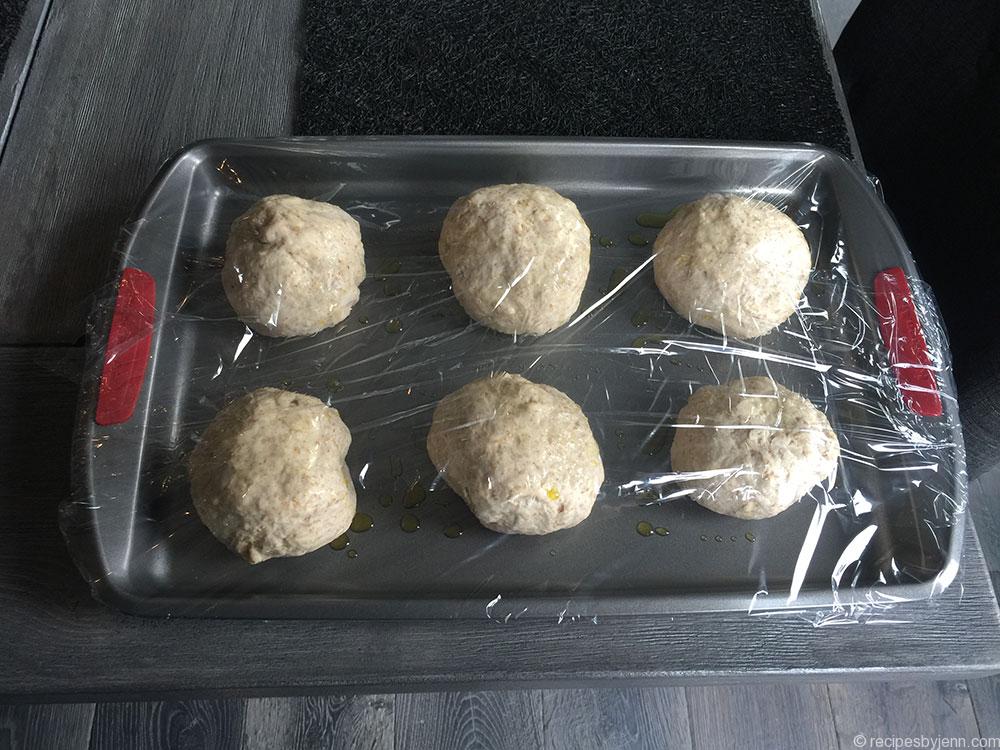
Once the dough is good and blended together (about 6-8 minutes - not too wet, not too dry), divide it into 6 balls and place on a lightly-oiled cookie sheet. Cover with plastic wrap and place it in a warm place (mine likes to sit in the sun).
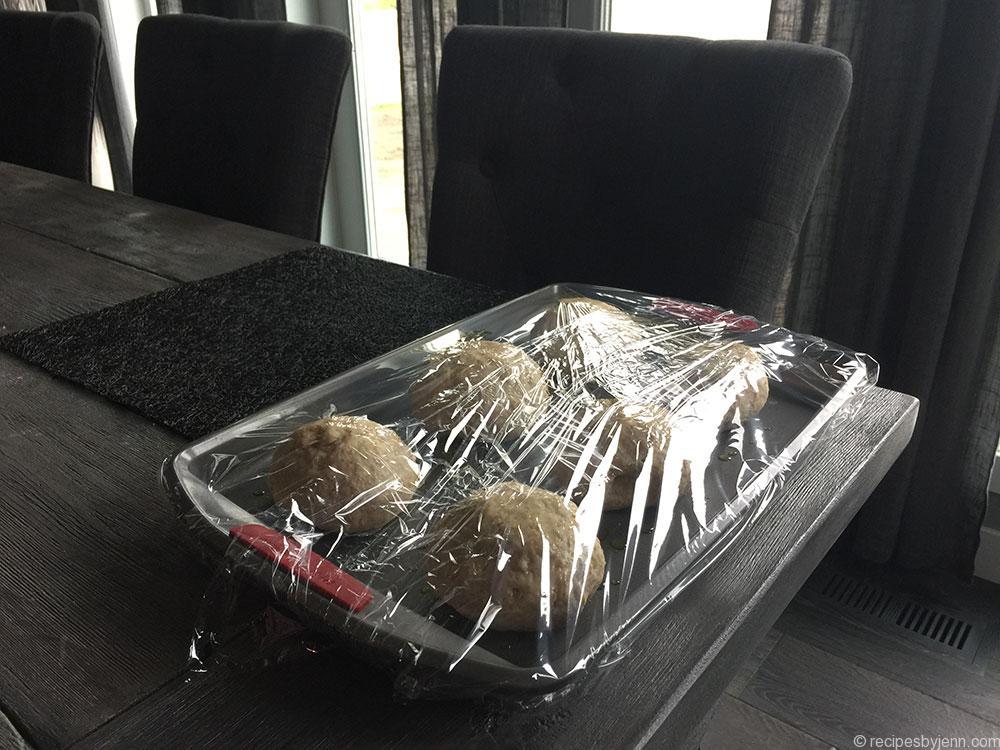
After a couple of hours, pop a ball onto a lightly floured surface... sprinkle with a tiny bit more flour...
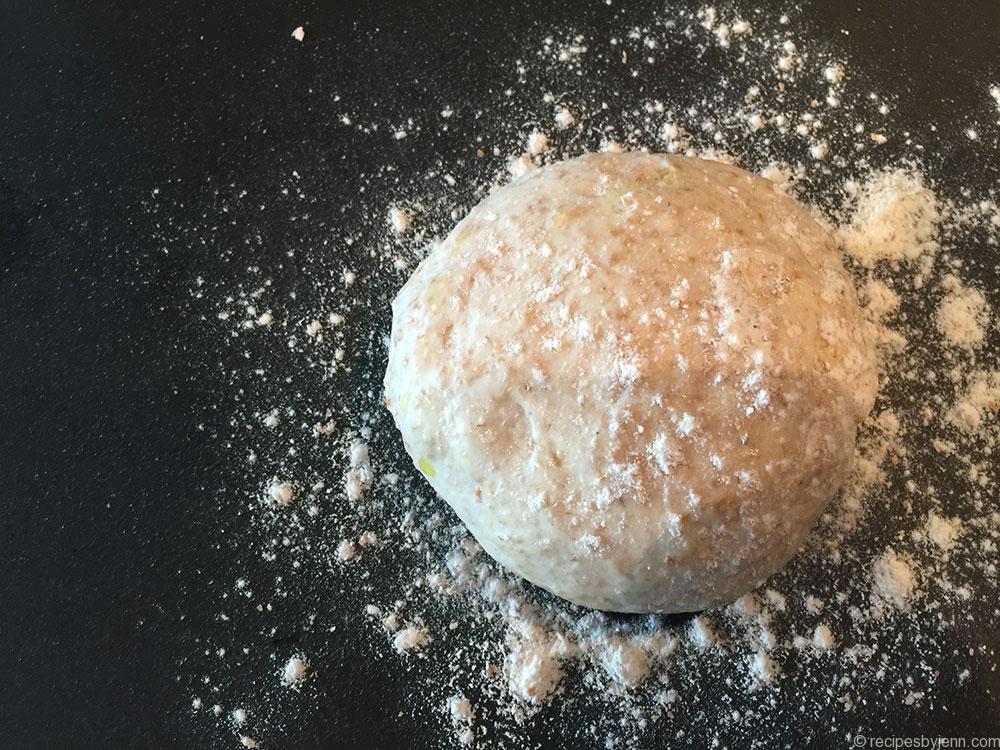
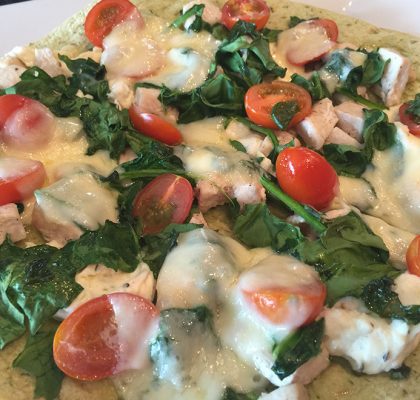
And press into your flatbread shape (you can do this with a rolling pin, or the uneven way with your knuckles - feels more authentic that way, or something...). Put your favourite toppings on, and ecco!
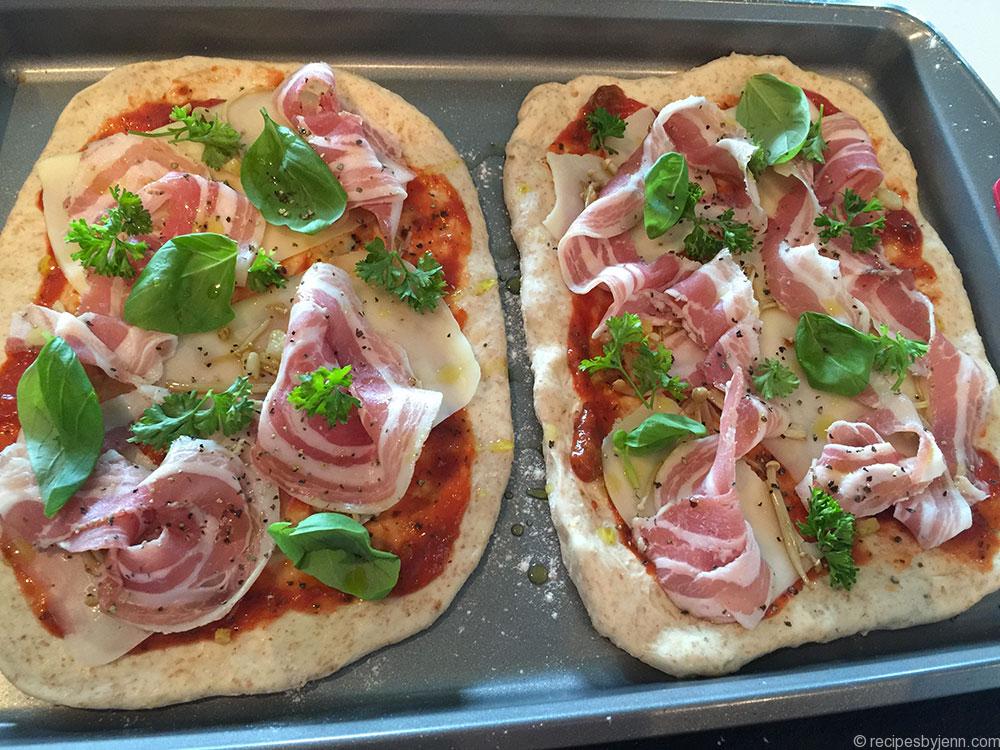
Careful with the toppings, though... It's a very thin flatbread and you don't need a lot. Just a tiny amount of everything and you're good to go!
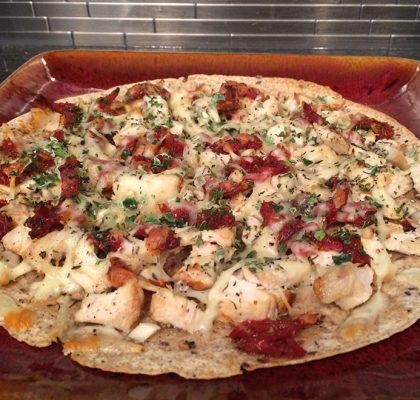
Pop it in the oven on the top rack and wait 5-6 minutes. That's it! Talk about a quick lunch (once the dough is made, of course).

Take a look! See how nice and browned the edges are?! You can get a crisper bottom too if you use a heated pizza stone, but mine was lost in the move, so cookie sheet it was. I did notice that mine cooked a little uneven - might be a good idea to turn the pan at the half-way mark... but, I mean, really, who cares? lol. It's flatbread time!
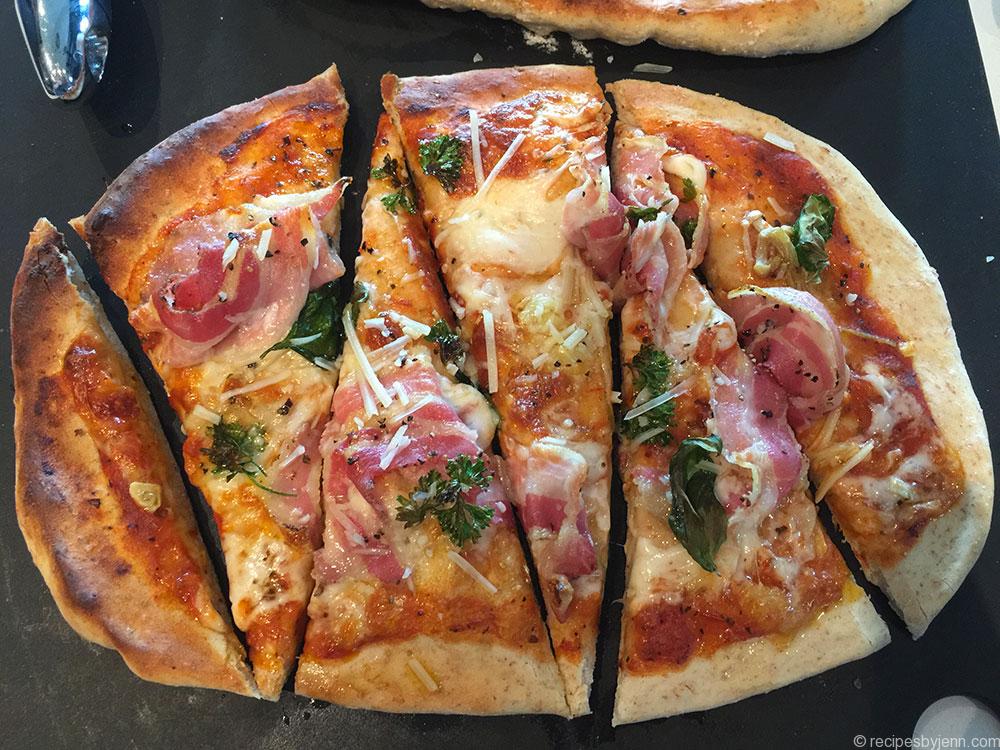
So... what's for lunch? ;o)
If you like the look of this little one, check out the recipe here >
Ingredients
- whole grain flour - 5 cp + dusting
- pizza yeast - 1.5 tsp
- sea salt - 1.5 tsp
- cold water - 2.25 cp
- extra virgin olive oil - for the pan and drizzle
Instructions
- Preheat your oven to 425 degrees.
- In your KitchenAid mixer, add all dry ingredients and blend together. Then switch to your dough hook and add in the water; blend together for approx 5-6 minutes on low - the dough should be smooth and sticky but should not stick to the sides of the bowl, only a little to the bottom. (If the dough sticks to the sides sprinkle in a little more flour, if it is too dry then add a bit more water).
- Remove from the mixer and cut it into 6 pieces and form them into rounds. Place them on a lightly oiled cookie sheet and drizzle with 1 tbs of extra virgin olive oil. Cover with plastic wrap and allow to sit at room temperature and rise for 2 hours in a draft free area.
- Sprinkle the counter with a little bit of flour, take one piece of dough and press down on it with your fingers until you have ½" thick circle or oval.
- Place your dough onto our cookie sheet, or if your stone was heating in the oven you can remove it and place it onto a heat resistant pad on your counter. Place your desired toppings on the dough and place your cookie sheet or stone on the top rack in your oven for 5-6 minutes. When you first do this, keep an eye on your dough - you don't want to let it get burned... just crispy.
You can easily freeze dough that you are not going to use right away by tightly wrapping each individual piece in plastic wrap and placing them into the freezer for up to a couple of weeks. Just take it out of the freezer to than about 30-60 minutes before you want to use it.
Original recipe and instructions from http://ciaoflorentina.com/
Add to Favourites

