- Prep Time: 15 minutes
- Cook Time: 35 minutes
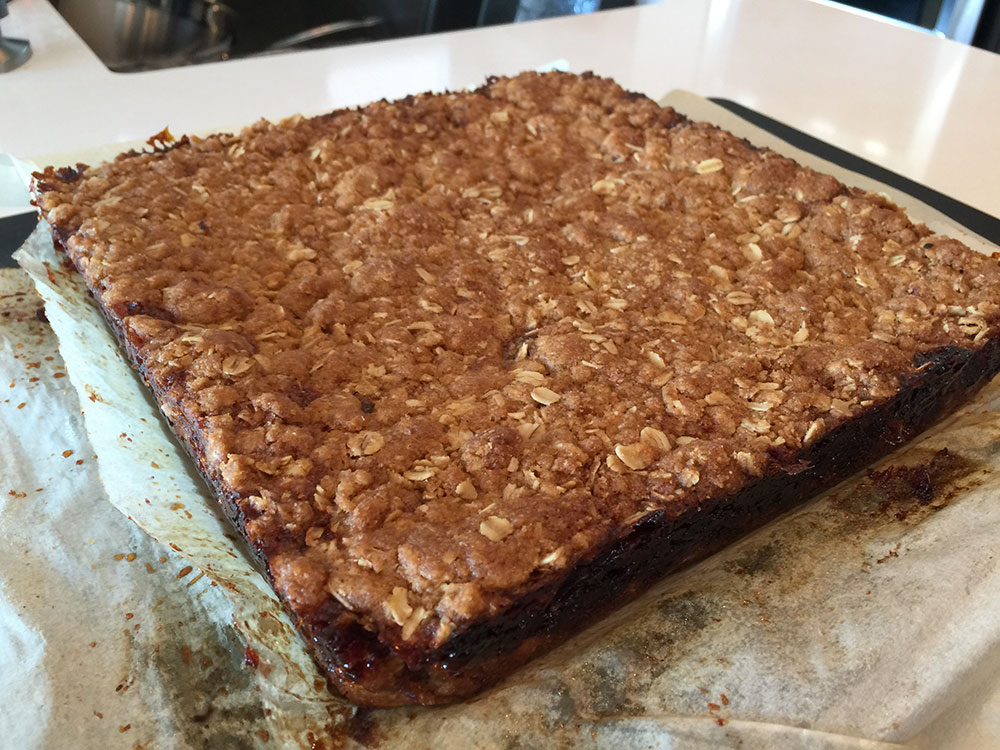
Down Home Date Squares
Hmmm... when I say "down home" that is EXACTLY what I mean with these beauties!
When I was a little girl, we used to always have date squares as a part of every major holiday. My grandmother used to make them (if I'm remembering that correctly), and perhaps my mother did as well. Or maybe they were store bought - who knows... All I DO know is that one way or another, there was always a plate of date squares sitting around!
And like most things when you're young, I didn't quite appreciate them until I got older. And then one day, I woke up, and I thought about them... and suddenly I loved them and had to have them! LOL
Surprisingly, I have never thought to make my own before. I know - how can that be? Haha! I have to thank one of my neighbours for the inspiration, actually. Her and I were chatting about Christmas coming up (yes - someone who loves Christmas as much as I do!!!), and she mentioned that she makes dates squares - her husband's favourite - every year for him.
At first, I thought... Ahhhhh what an awesome wife, and a lucky man... and then I thought, why the heck haven't I made these before?!
So, today was the day! Thanksgiving is in a week, and, as you know, Thanksgiving is a great time to test out all of those new little goodies for the all-important Christmas meal. I hunted around for a few recipes and found a couple that peaked my interest. One in particular really stuck with me... and so that is the one we are doing today. And let me tell you - if you have EVER liked (or thought you might like) date squares, here's a great one to get you started!!
This recipe was posted to blogspot, but there were no credits to be found, sadly... so, author of this recipe, if you find this post, please say hi! I'd love to give you full credit!!
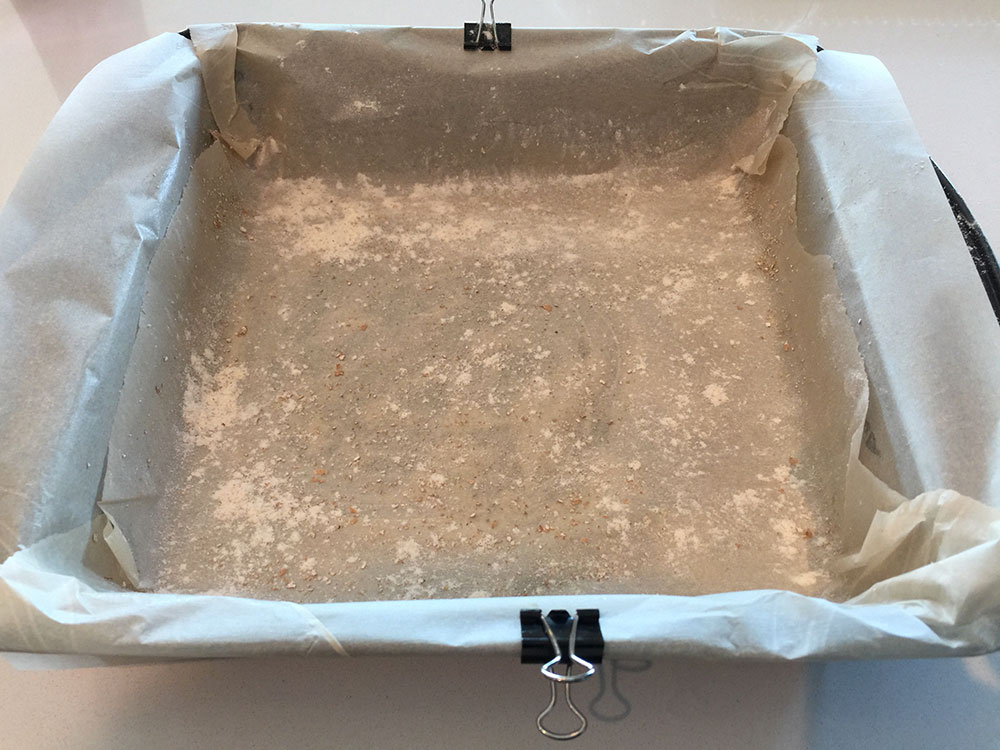
Start by preparing your 9" x 9" pan (for tips, see this recipe).
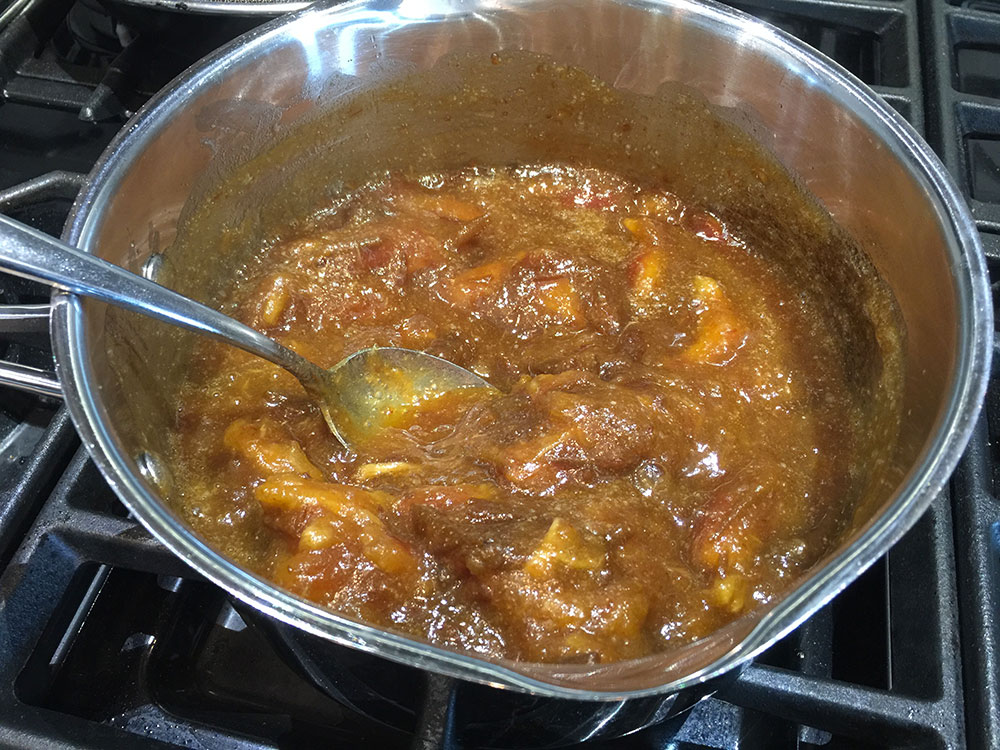
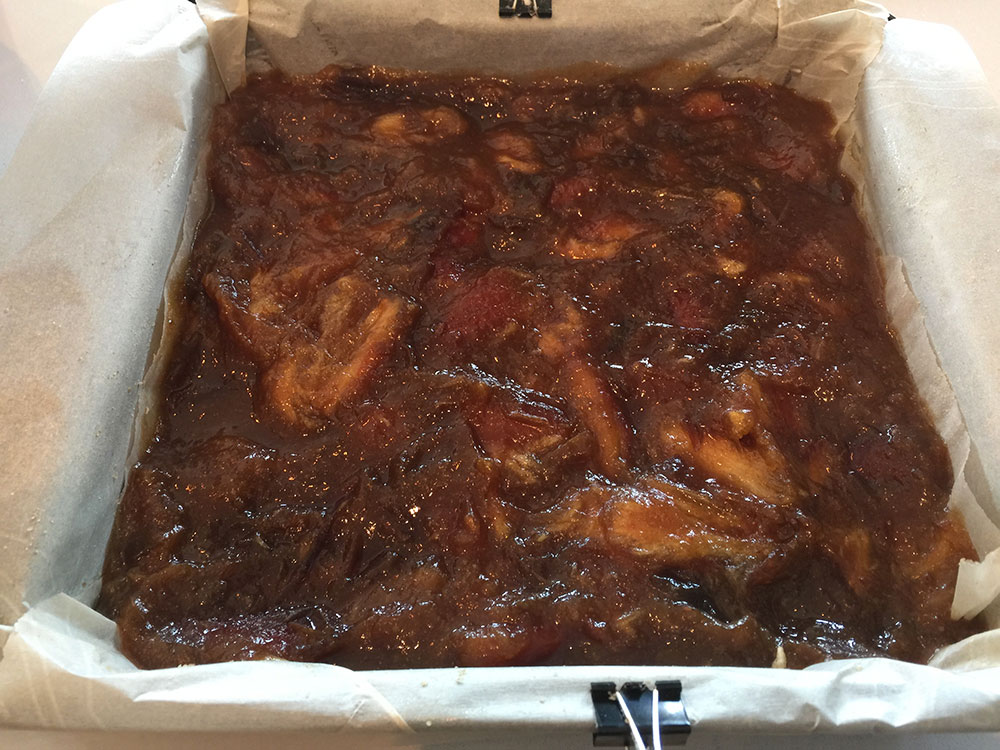
Next, add your filling ingredients into a saucepan (make sure you remove the pits from your dates!) on the stove and heat low-med for approximately 10 minutes - the sauce will thicken.
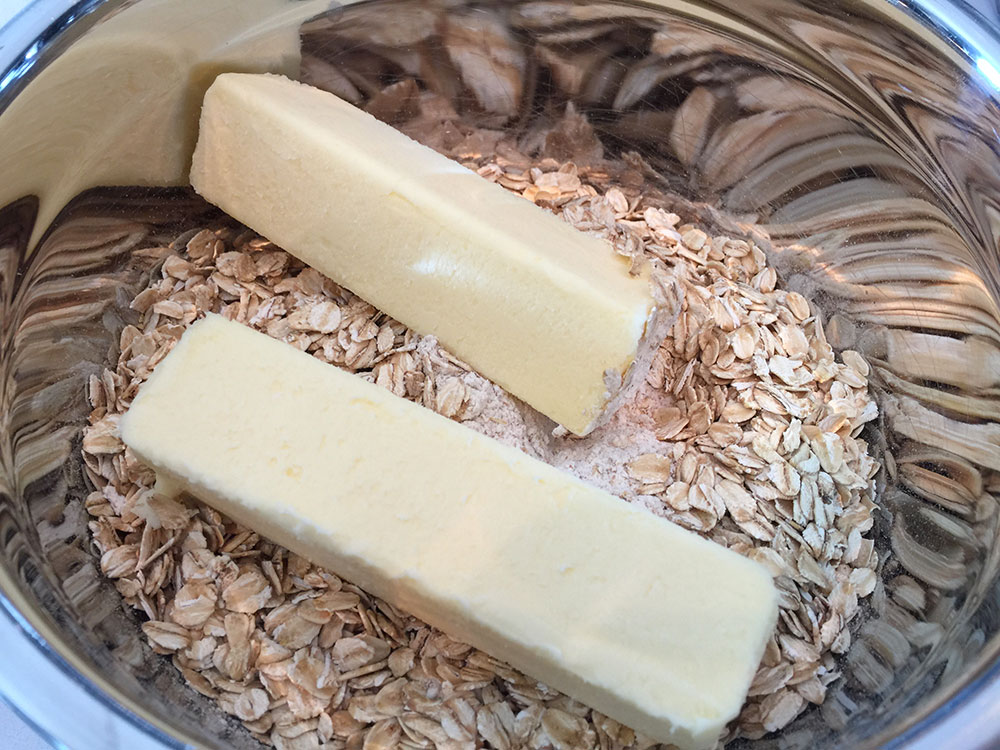
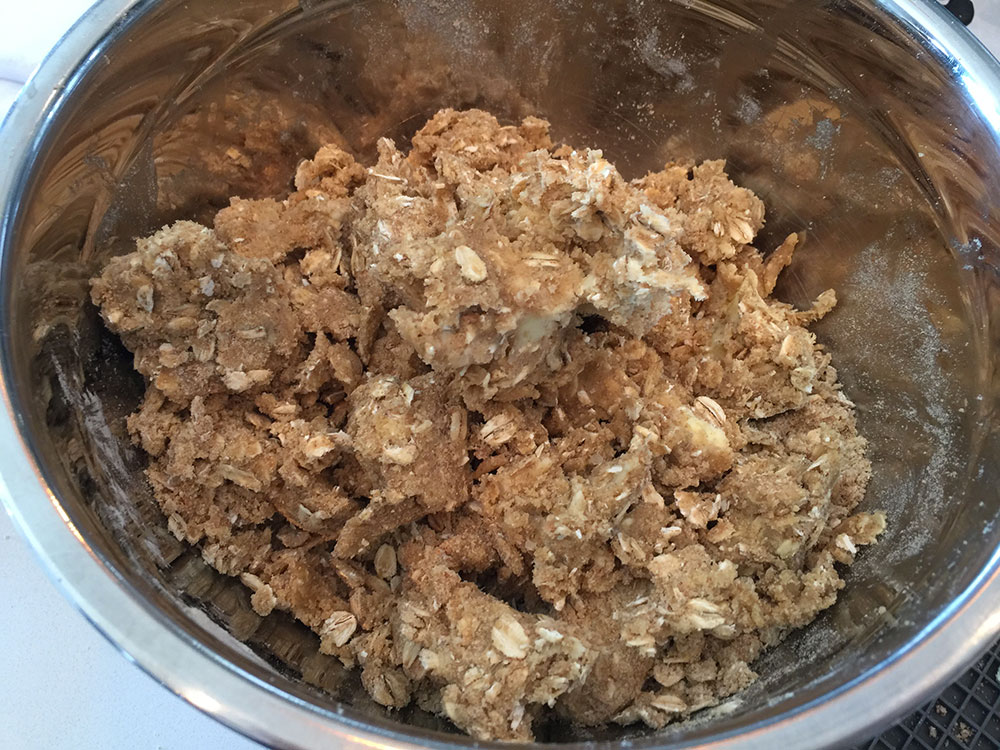
Set that aside and start working on your base. Put all of the base ingredients together in a bowl and blend by hand.
Here's a hint - your butter should be almost room temperature - but still chilled. You don't want to melt it, or use margarine... the base just won't turn out the same. When you mix it together, your finished product will be clumpy and crumbly...
Place half of the base in your prepared pan. Gently press it down.
Pour the date filling over the base and spoon it evenly out.
Sprinkle the remainder of the base on top and gently pat it down...
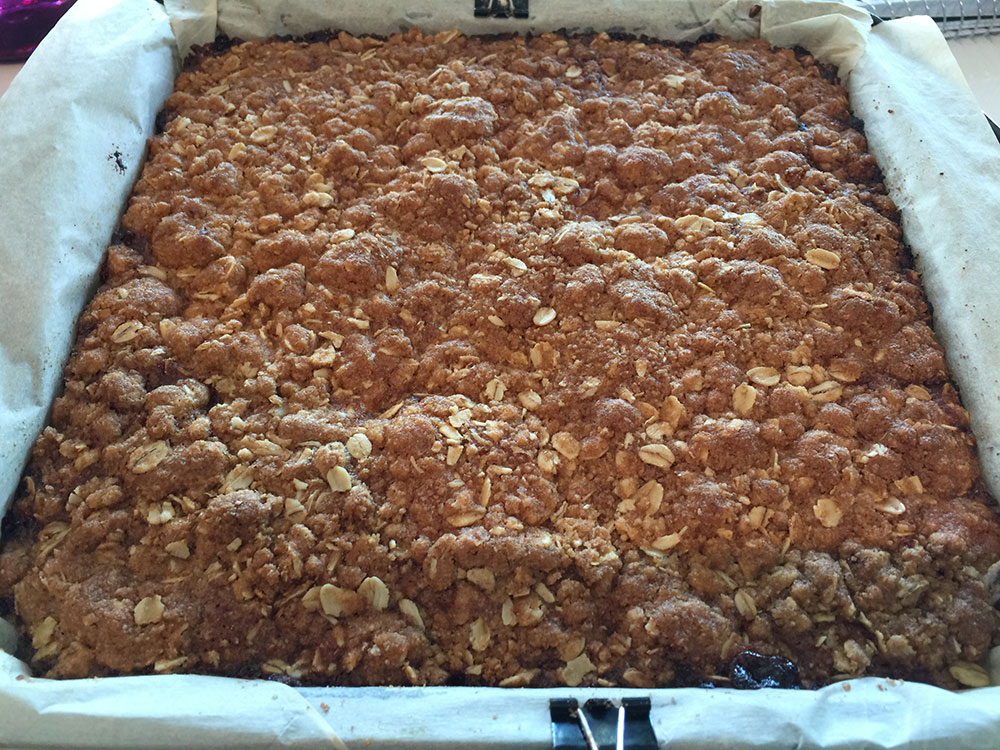
Bake at 400 for approx 32-35 minutes until it's nice and browned.
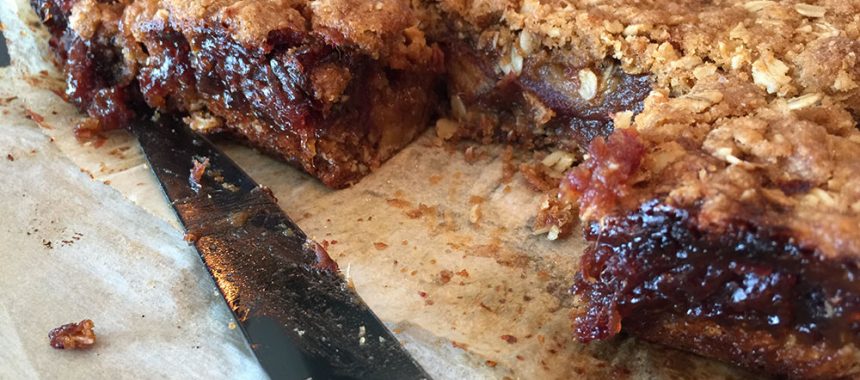
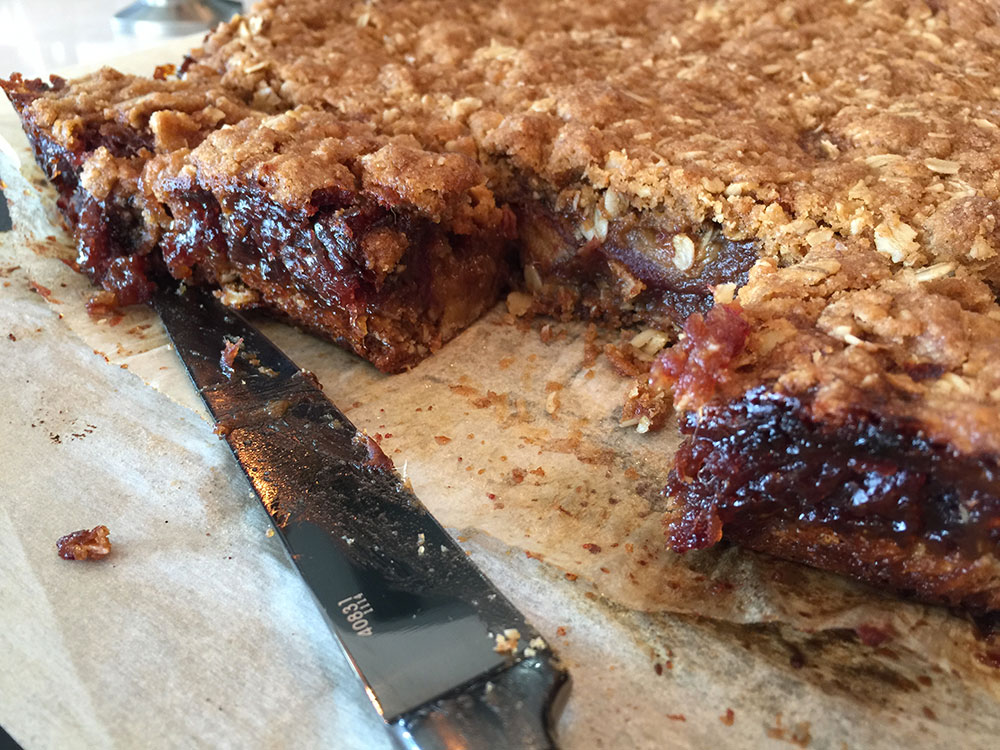
Let it cool in the pan, and then gently lift the parchment paper away from the pan and set on your cutting board. You can also put the pan into the fridge or freezer for a bit to firm everything up before cutting it.... but I didn't - 'cause I couldn't wait!!!
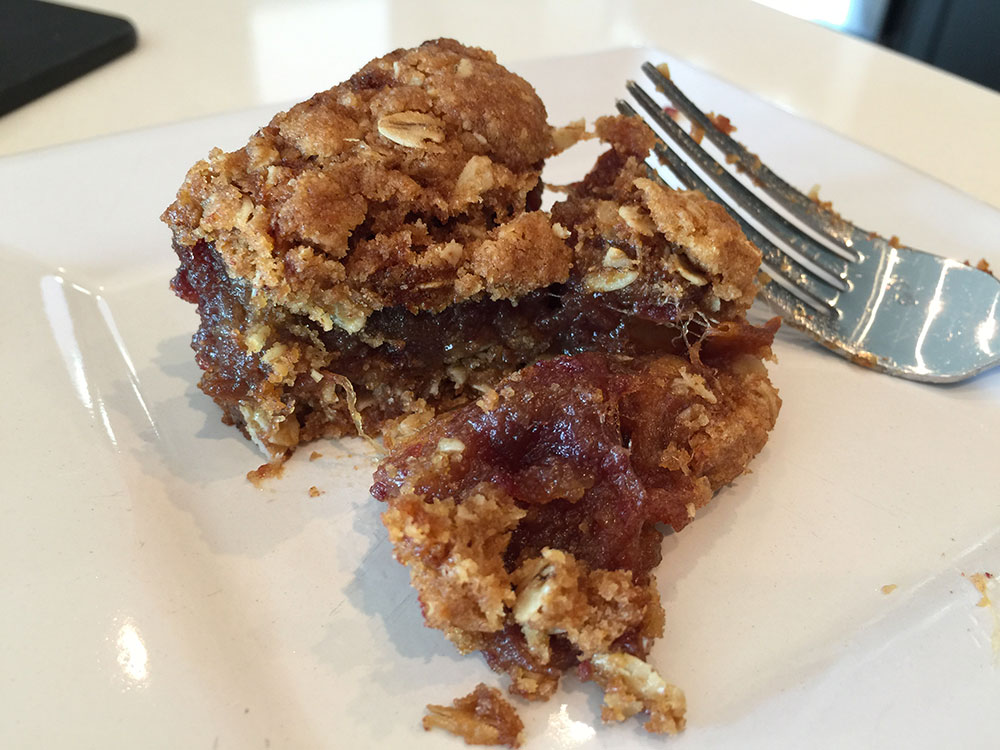
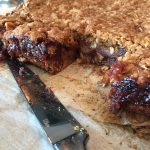
Go ahead and cut it into bit-sized pieces and EAT EAT EAT! These are sooooo good!!
Don't forget - when you make your own, remember to take a photo and share it online at Facebook, Twitter or Instagram with the hashtag #recipesbyjenn and by tagging @recipesbyjenn. That way, I can see your photos and share them with all my friends! Plus, I get to feature them on this site along with all my other photos!
Ingredients
- Filling
- dates - 3 cp, pits removed and coarsely chopped
- water - 1 1/2 cp
- brown sugar - 1 cp
- Crumb Base
- brown sugar - 1 cp
- butter - 1 cp, almost room temperature
- whole grain flour - 1 1/4 cp
- sea salt - 1/2 tsp
- baking soda - 1/2 tsp
- gluten free oats - 1 1/2 cp
Instructions
- Preheat your oven to 400°F; prepare your 9" x 9" pan (for tips, see this recipe).
- Next, add your filling ingredients into a saucepan (make sure you remove the pits from your dates!) on the stove and heat low-med for approximately 10 minutes - the sauce will thicken.
- Set that aside and start working on your base. Put all of the base ingredients together in a bowl and blend by hand. Here's a hint - your butter should be almost room temperature - but still chilled. You don't want to melt it, or use margarine... the base just won't turn out the same. When you mix it together, your finished product will be clumpy and crumbly...
- Place half of the base in your prepared pan. Gently press it down. Pour the date filling over the base and spoon it evenly out. Sprinkle the remainder of the base on top and gently pat it down...
- Bake at 400 for approx 32-35 minutes until it's nice and browned. Let it cool in the pan, and then gently lift the parchment paper away from the pan and set on your cutting board. You can also put the pan into the fridge or freezer for a bit to firm everything up before cutting it to serve.


