- Yield: 50
- Prep Time: 2 hours minutes
- Cook Time: 15-20 minutes
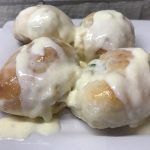
Perishke
Oh how wonderful these little gems turned out!! This was another first for me - these little cottage cheese buns. Now, normally they are made with a dill sauce, but I'd had lots of requests for just more good ol' heavy cream. So that's how we are making them this year. lol
I'll warn you... the directions seem long - but they are hardly any work at all. In fact, pyrogies take more time! (although equally as worth the effort!) I just wanted to really break it down - for two reason: 1. So that I would remember how to do it next time! Ha! and 2. So that you can see how I did it without missing any steps.
Just ready through it all, and then give it a go!!
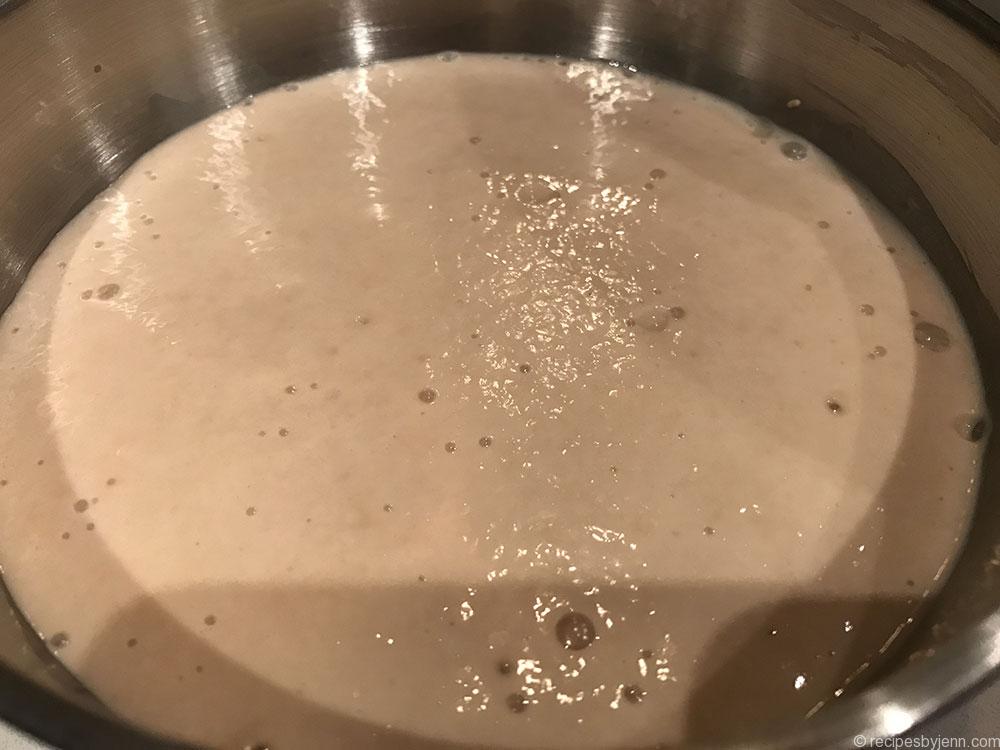
Start by placing 2 tbs yeast and 2 tbs sugar in a small dish, and then add 1 cp lukewarm water. Not too hot or you will burn the active element of the yeast. Give that a stir and let it set for 10 minutes until nice and frothy.
Then, in a separate bowl, whisk together your 3 eggs until nice a blended.
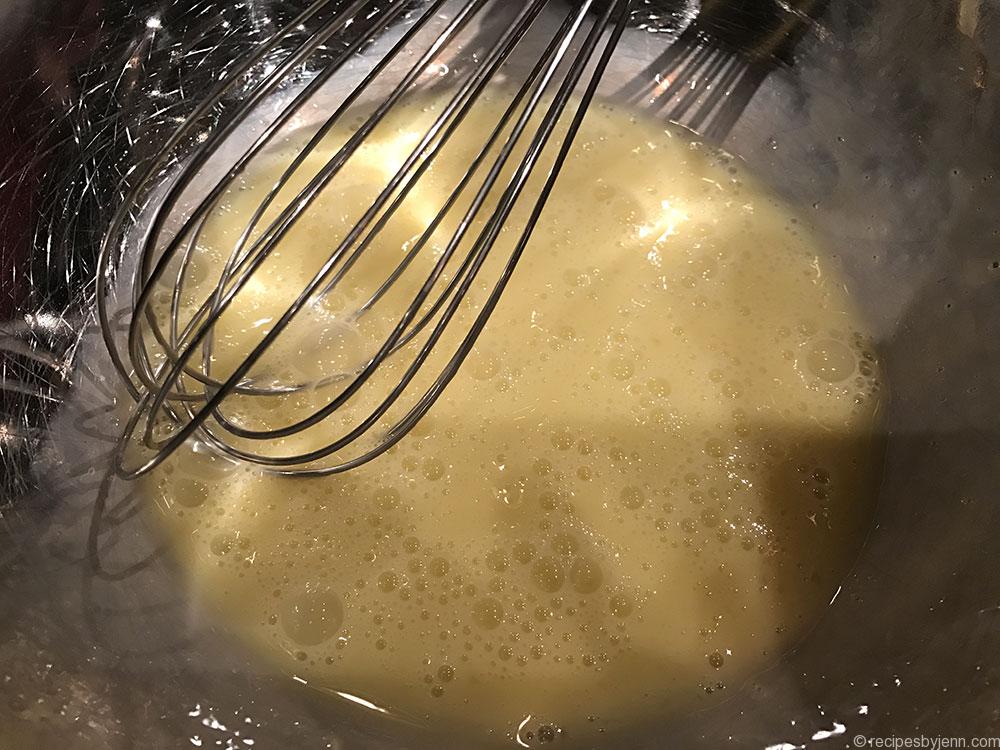
And then, one at a time, taking a second or two to mix together each step, add the oils (and mix), then the sugar (and mix), salt (and mix), and finally the water (and mix).
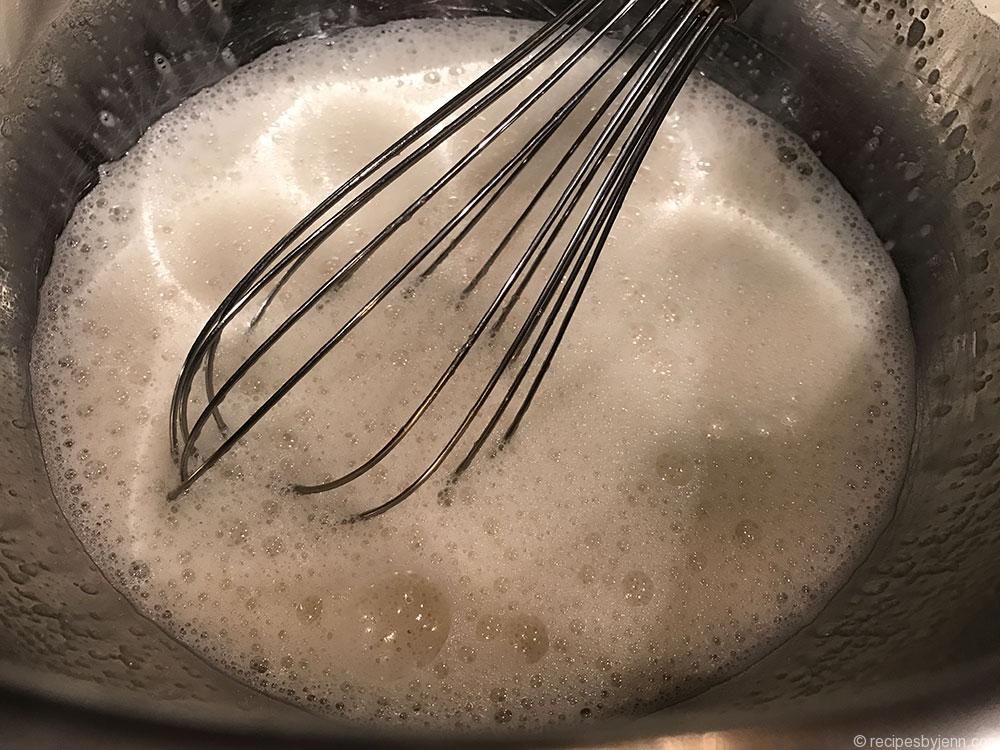
Next add in your frothy yeast and stir well.
Then you will start by adding one cup of flour at a time, stirring it together until it is almost all mixed.
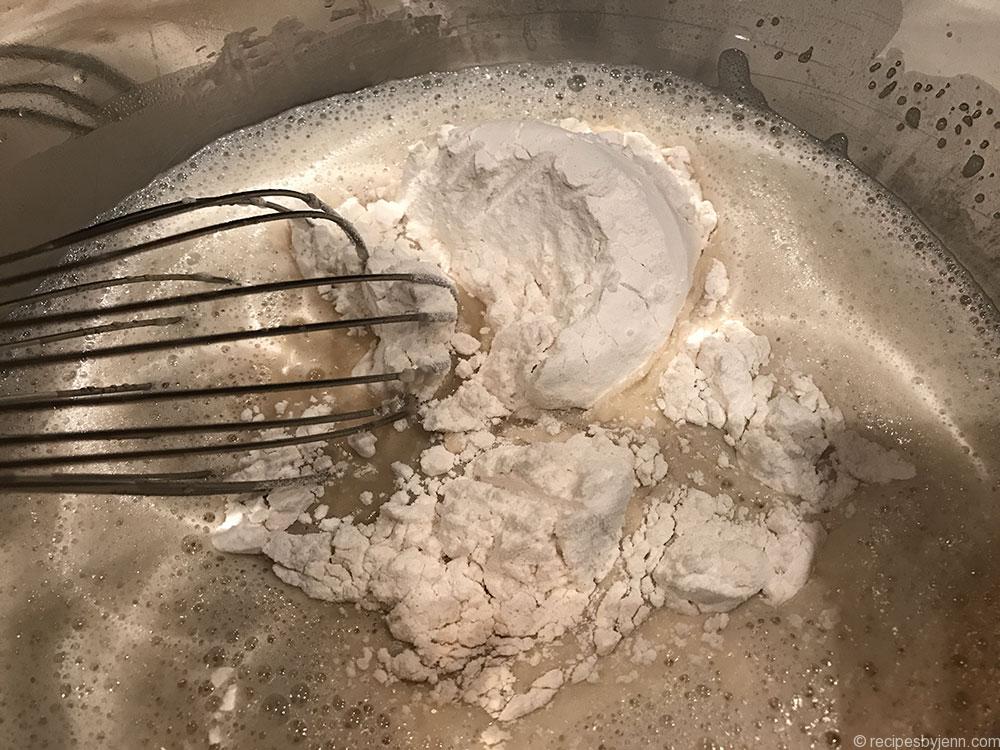
Then, dump it out onto a floured surface so that you can begin working it.
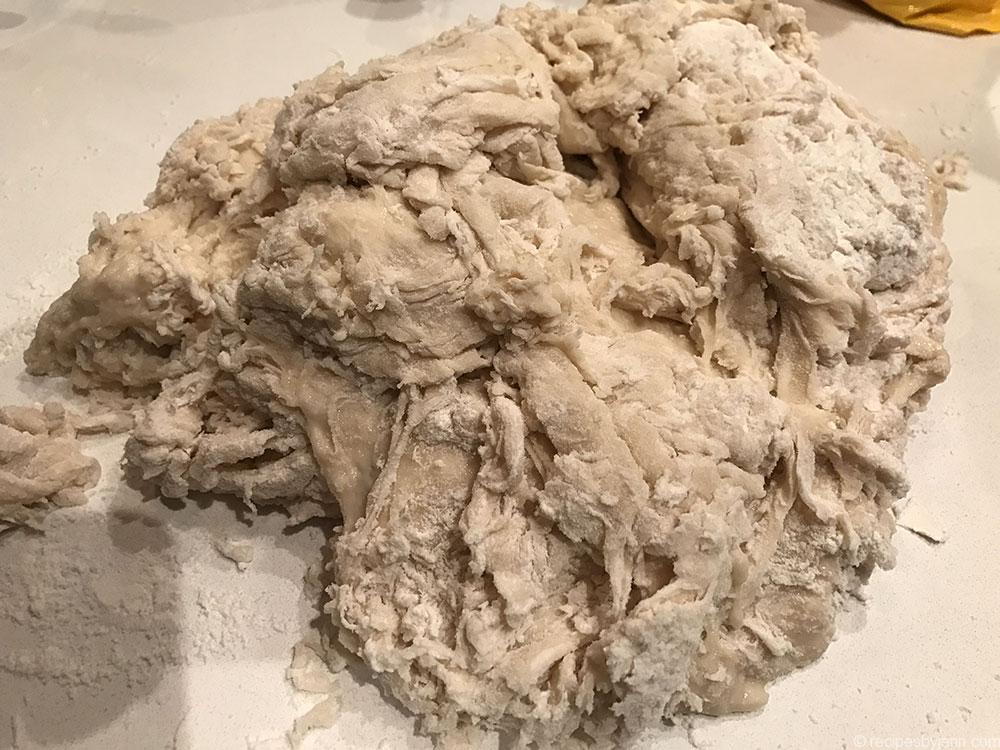
At this point, you can sprinkle extra flour over the dough and your hands - just enough so that the dough is dry enough to knead, but not too dry. Go ahead and begin kneading the dough, around and around, for about 5 minutes... dusting your hands, the dough or the surface so that it's not sticking. Important - you don't want dry dough. So, expect the perfect harmony to be dry enough to knead, but almost with a 'clammy' feel when you tough it.
Do you know why it's important to knead your dough? It's because, when you knead the dough, you are activating the gluten that is in the flour, which reacts with the yeast to create a light, airy texture. Without kneading a standard dough recipe, your dough will be dense and flat. Good to know ;o)
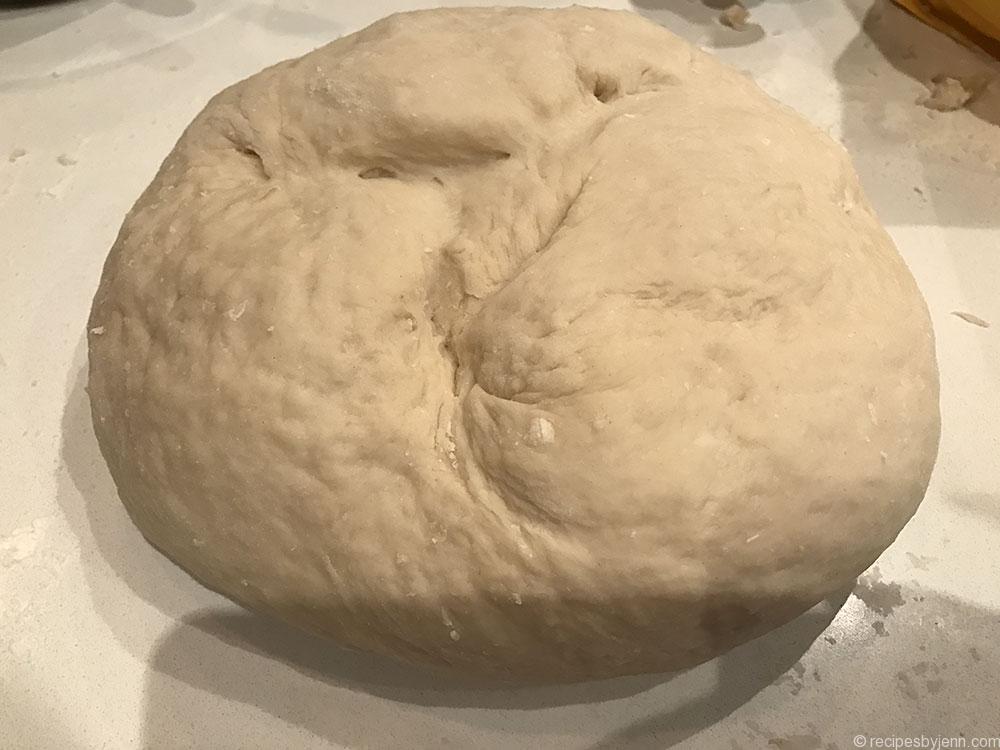
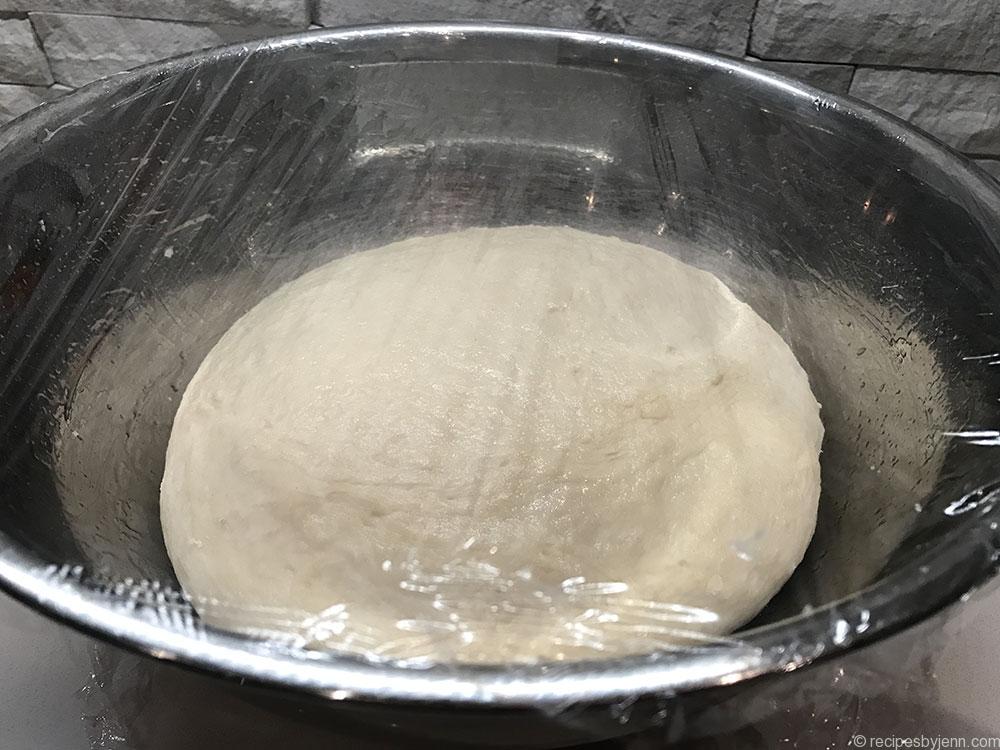
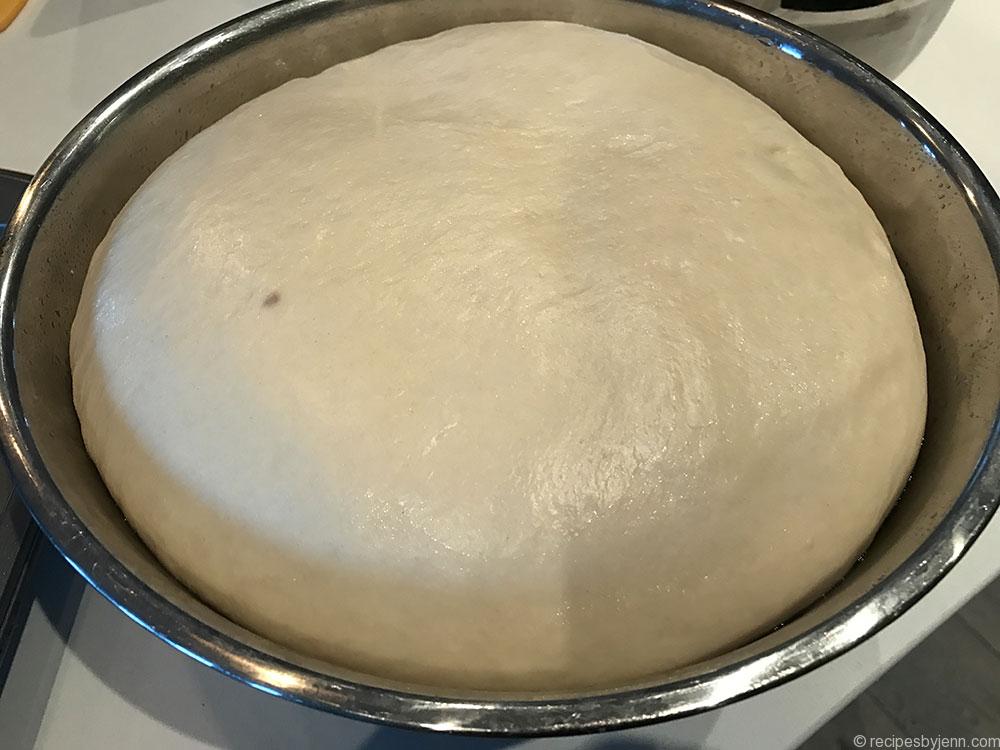
Next, place the dough ball into a well oiled clean bowl (I used a little extra canola and brushed it around with a paper towel), and turn the ball around so that it also becomes covered in oil. Then cover with plastic wrap and a towel and set it in a warm place to rise for one hour.
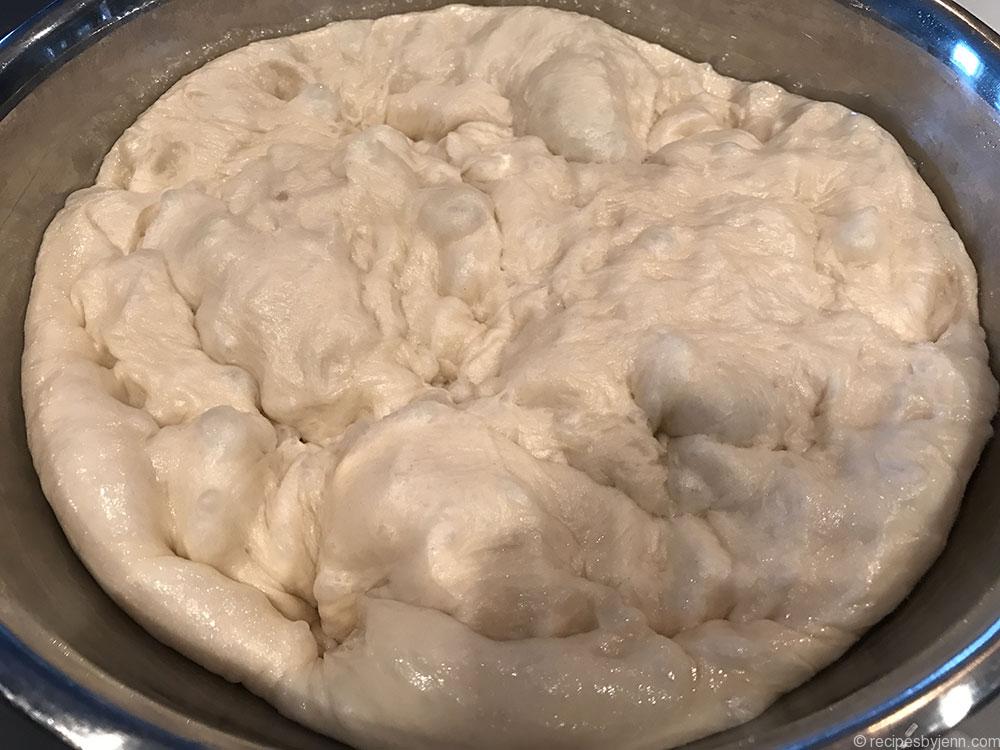
After the first hour, punch down your dough a little, like so...
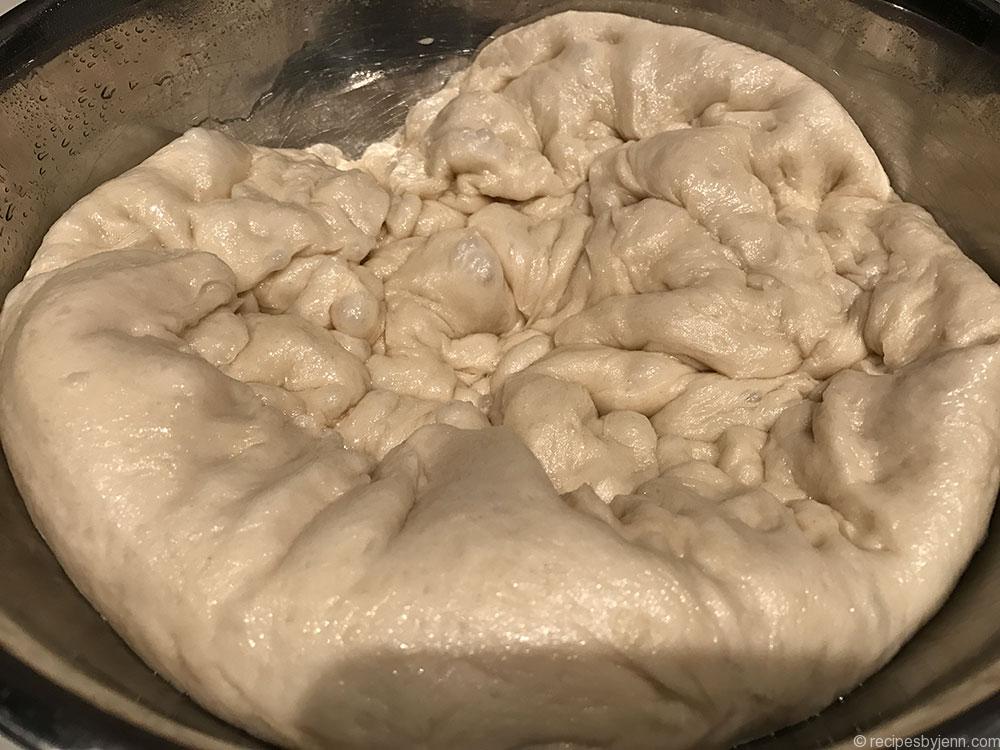
This is punching out excess air pockets. Then, knead it into a quick ball, cover and allow to rise for another hour.
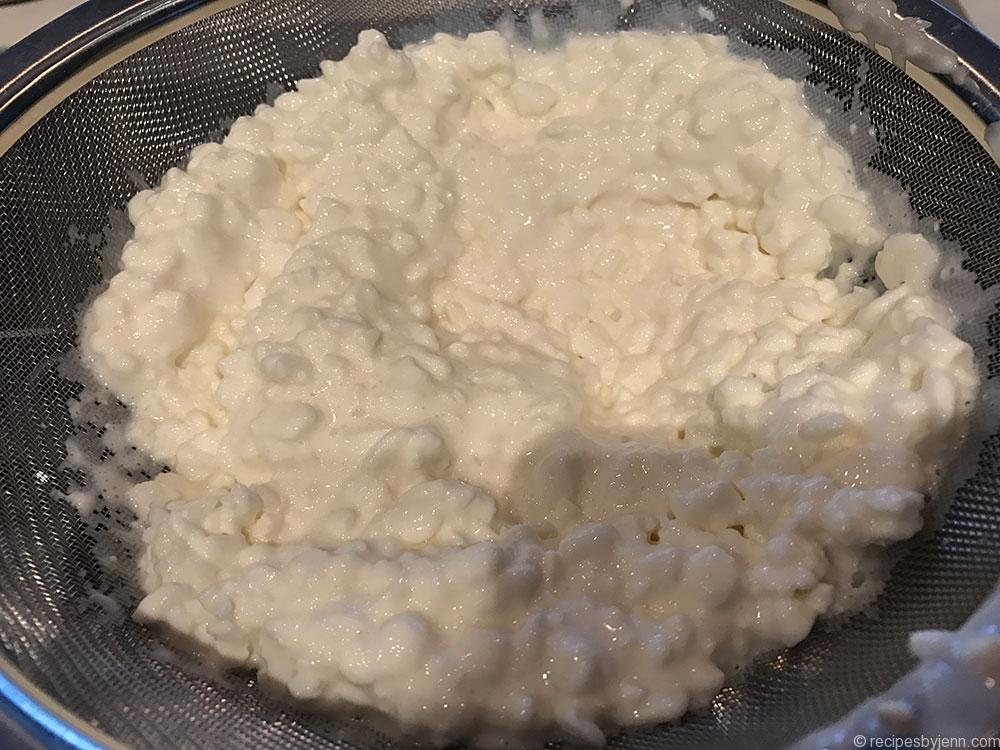
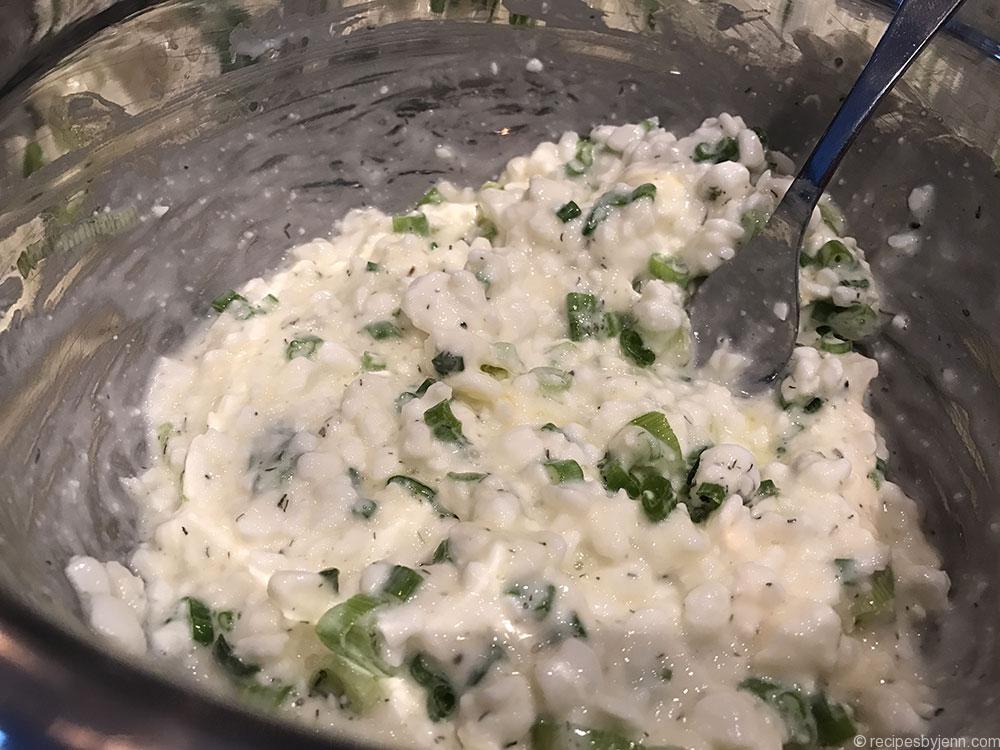
A few minutes before your dough has finished rising, prepare your cottage cheese blend. Put your cottage cheese into a fine strainer and press the cheese a little to squeeze out any excess moisture.
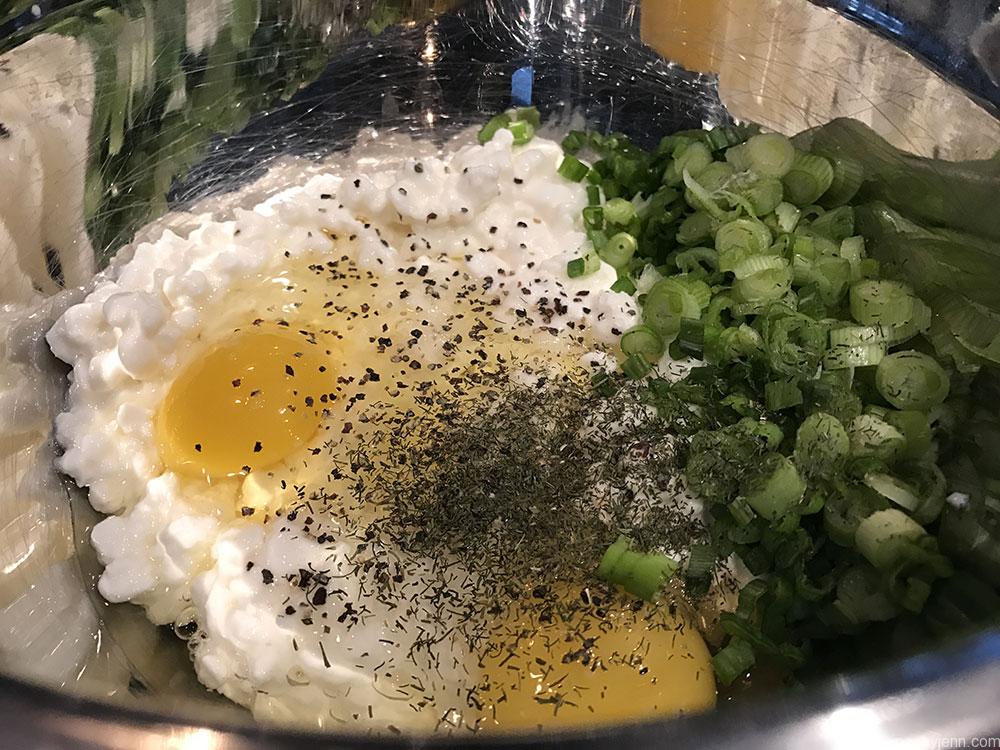
Next add the cheese and remainder of filling ingredients together in a bowl and blend.
Back into the strainer and set it in the bowl so that you can continue to drip away any excess moisture. You don't want the mixture too wet.
Lift the plastic away from your dough...
And punch it down a little.
Next, start pulling away just-smaller-than-golf ball sized pieces of dough and start flattening them out. You will want to work quickly as the dough is quite elastic-y and won't stay stretched for long.
Scoop a small amount of cheese blend into the centre...
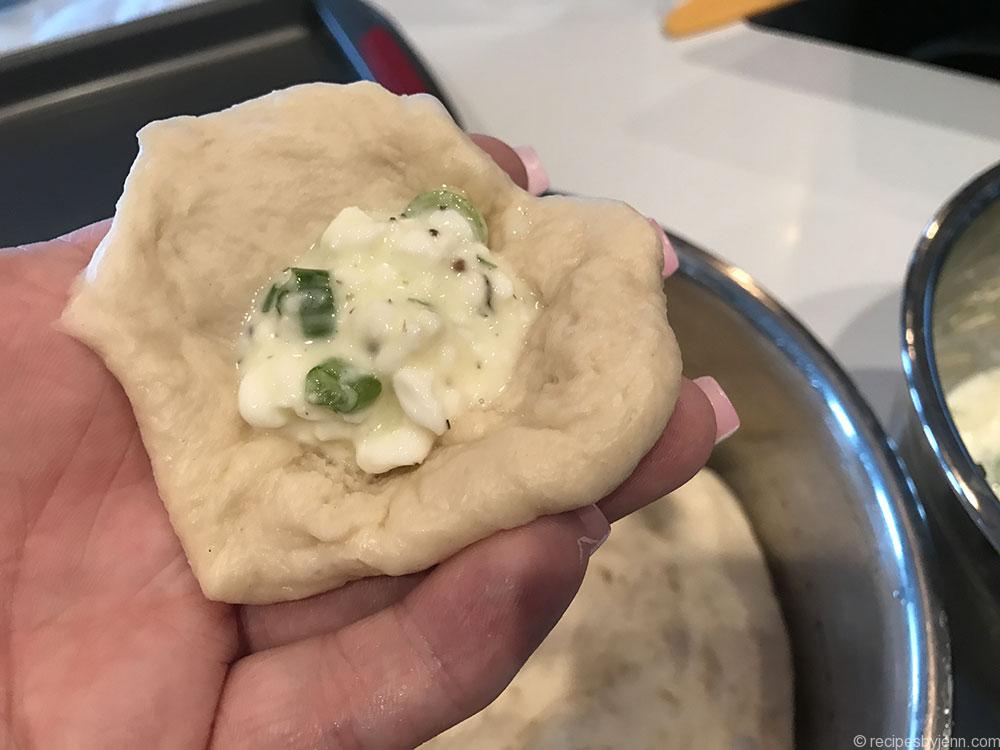
Fold over the sides, being careful not to get the cheese mixture on the edges or it won't stick together...
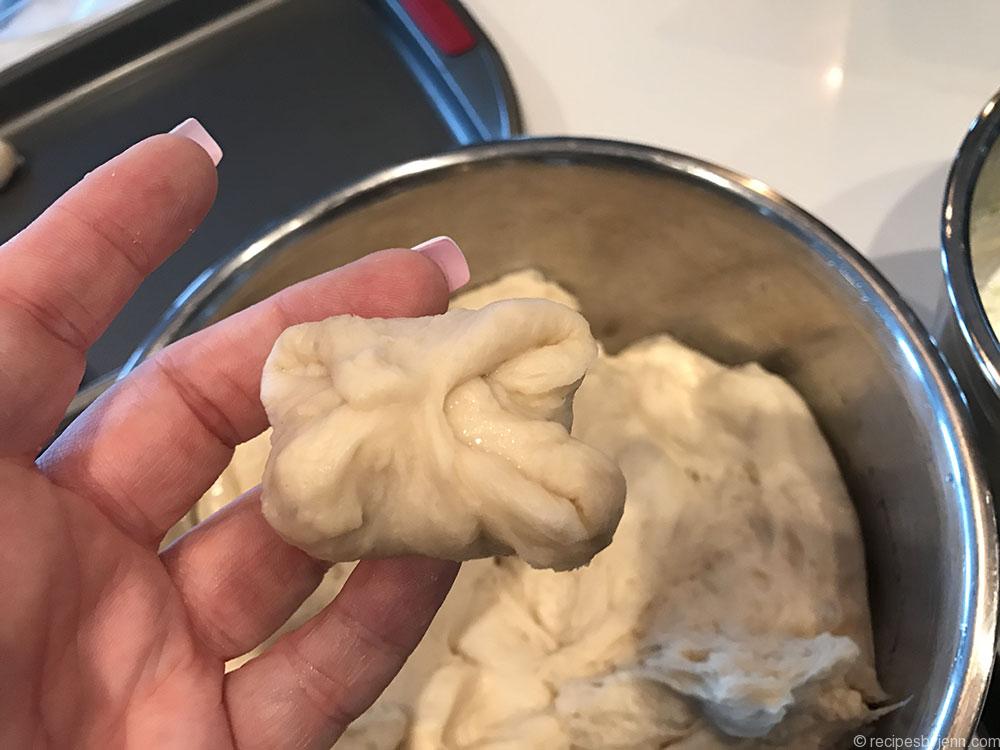
And then gently fold into a nice oval shape.

And so... here's where mine vary... These actually rose up about twice the size of the ones we've bought from the Farmer's Market Babas... but they were just as delish! LOL. I had a hard time making them smaller and still getting filling inside! Ha!
Once you've finished a cookie sheet full, preheat your oven to 325°F and cover the tray in plastic wrap, letting it sit on the counter for 20 minutes while the oven heats up. Remove the plastic wrap and place the sheet into the oven for approximately 15-20 minutes. Depending on how big yours end up being, the time will vary, but you want the tops to be light golden brown.
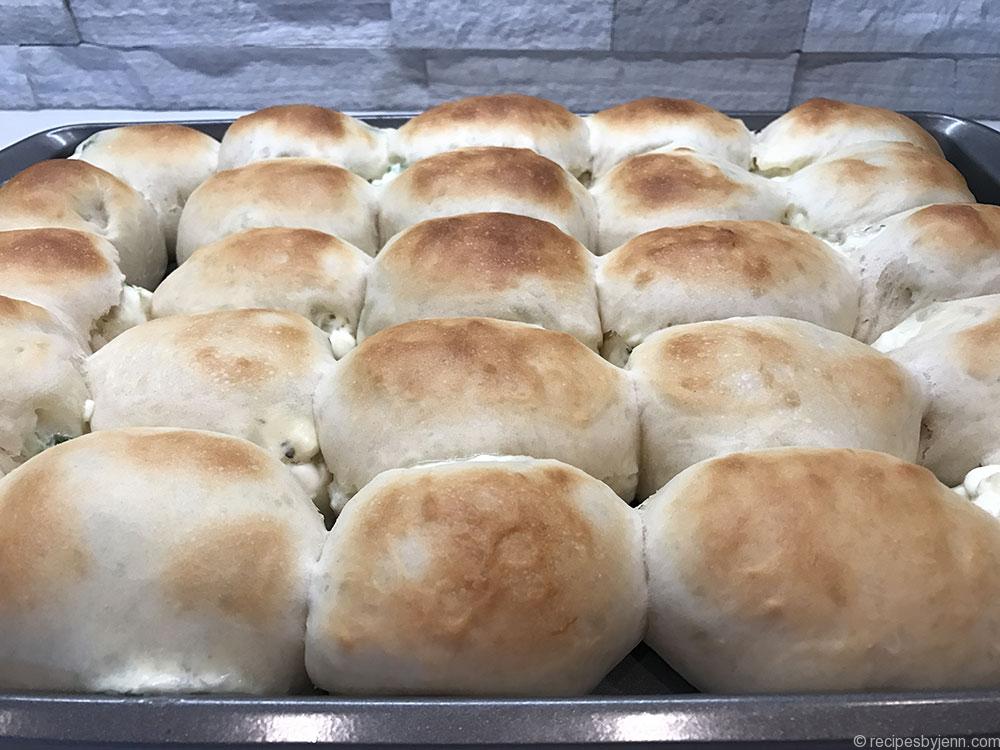
I got 25 to a tray, and 2 trays full (baking one tray at a time).
Let the dumplings cool for about 30 minutes or so on the counter, and then you're ready to whip up the cream.
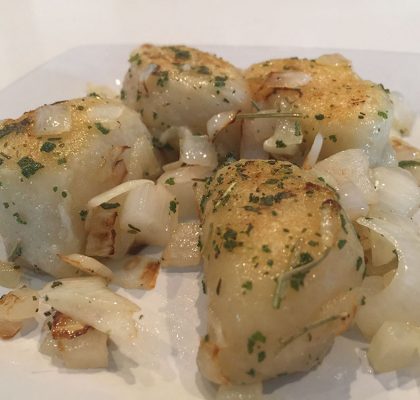
Here's another variation... As I mentioned, most people do theirs with a dill cream sauce. I'm not a huge fan of the dill, and Granny didn't make it with the dill (as far as Hubby could remember), and so we stuck with butter and cream. Another option would be to lightly saute very finely diced onion in the butter before adding the cream.
And depending on how many you are serving, the quantities will vary. So, add minimum 1 tbs butter (a second one if you are doing a large pan) to a deep frying pan and add in about 1/2-3/4" cream to the bottom of the pan.
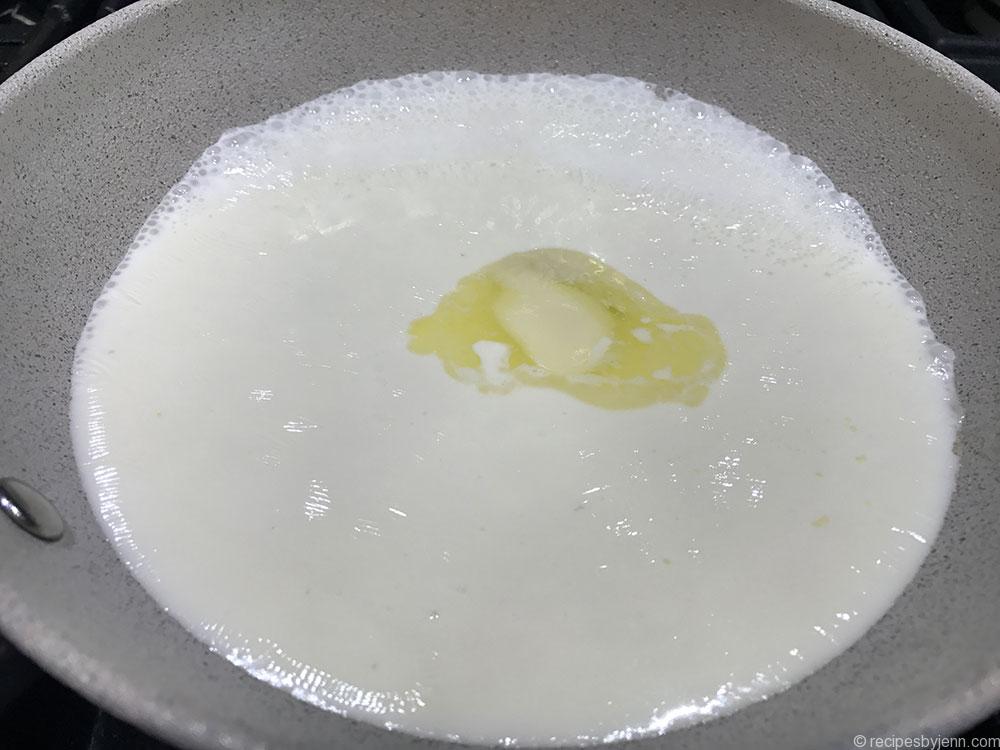
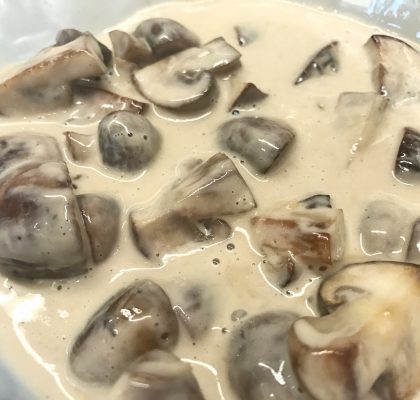
Let the milk start to bubble really well on low-medium heat (depending on your stove - you don't want it to burn). Once the cream starts to thicken and turn colour slightly, add in your dumplings...
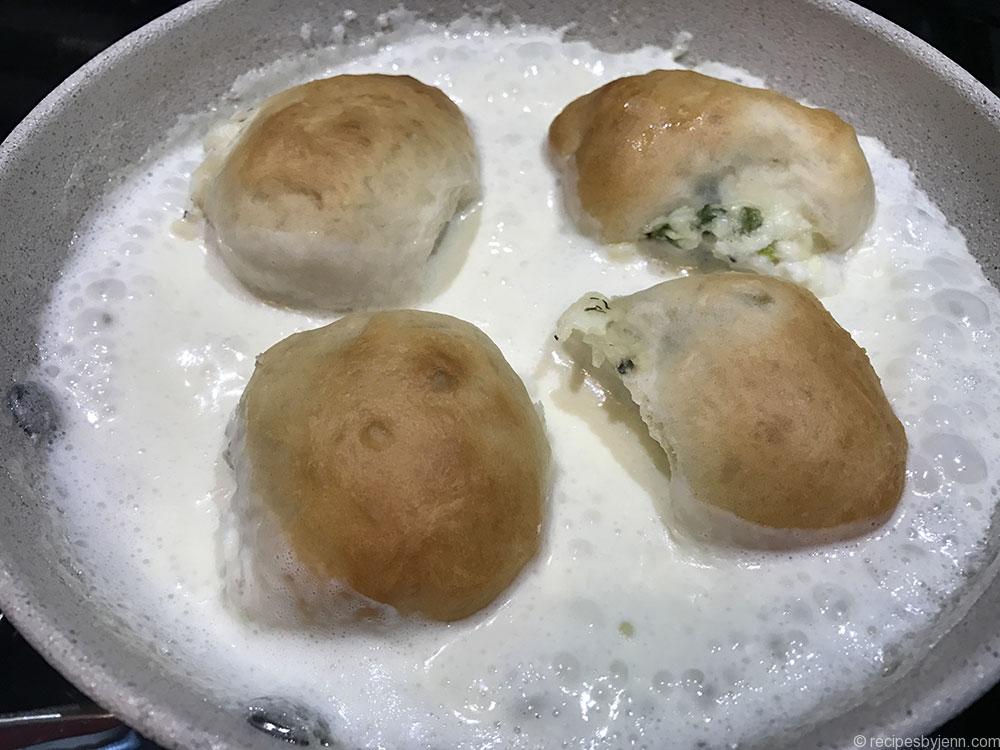
(As you can see, I only did 4 'cause it was a trial run lol.)
Flip them over a couple of times to coat...
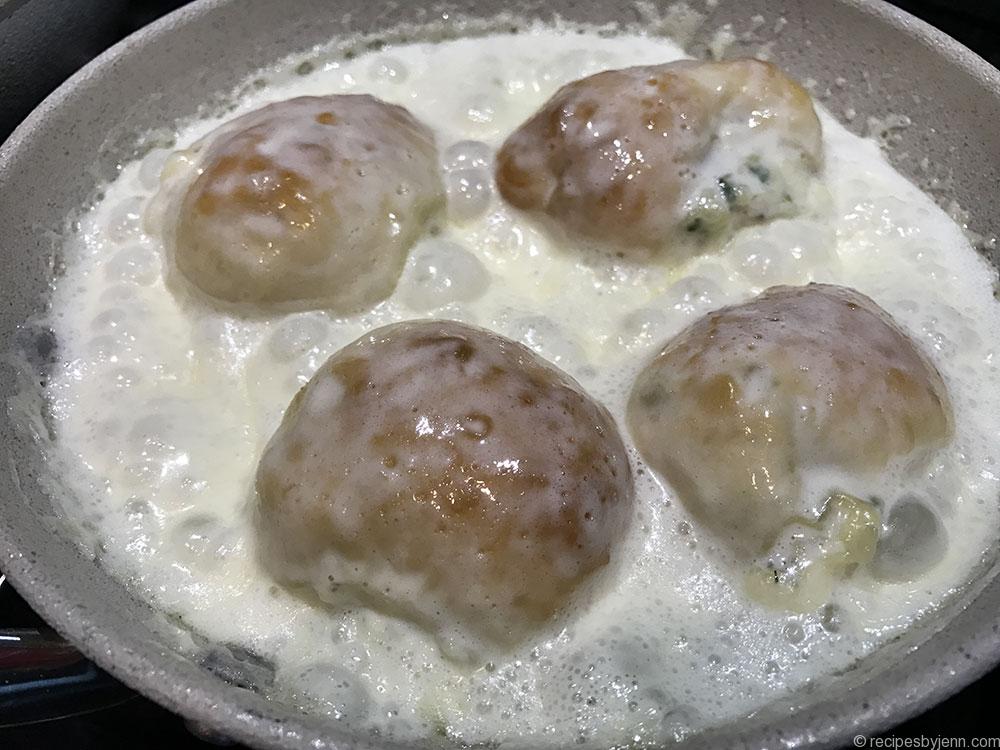
And just let that cream bubble away until you have it nice and thick enough to coat your spoon... the above-photo was right before we took everything off of the heat.
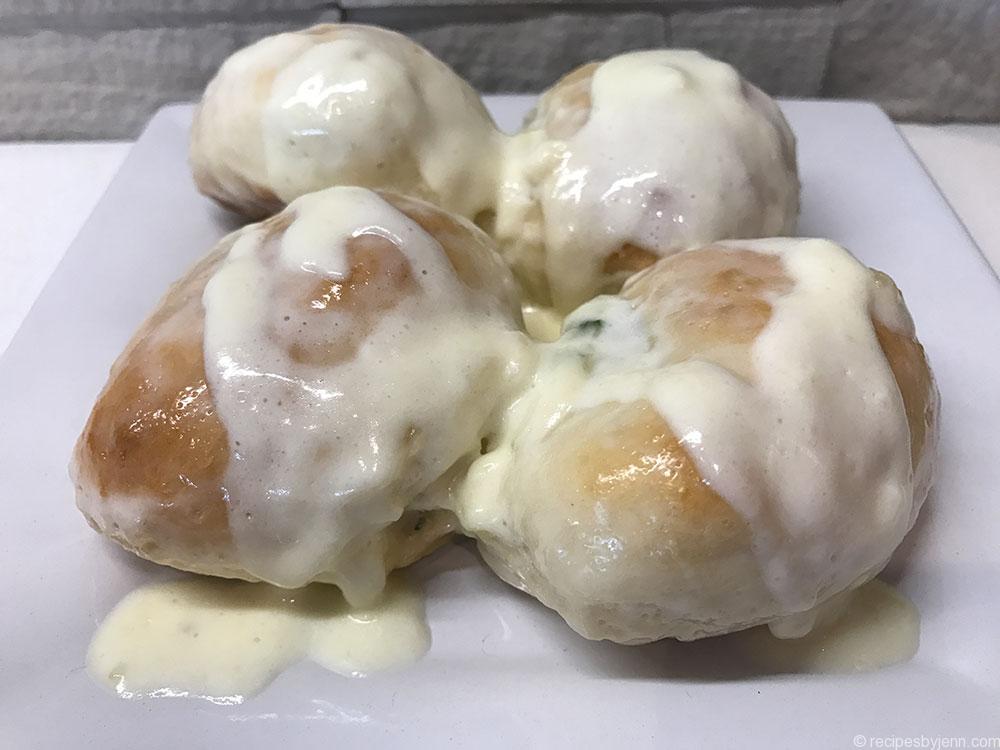
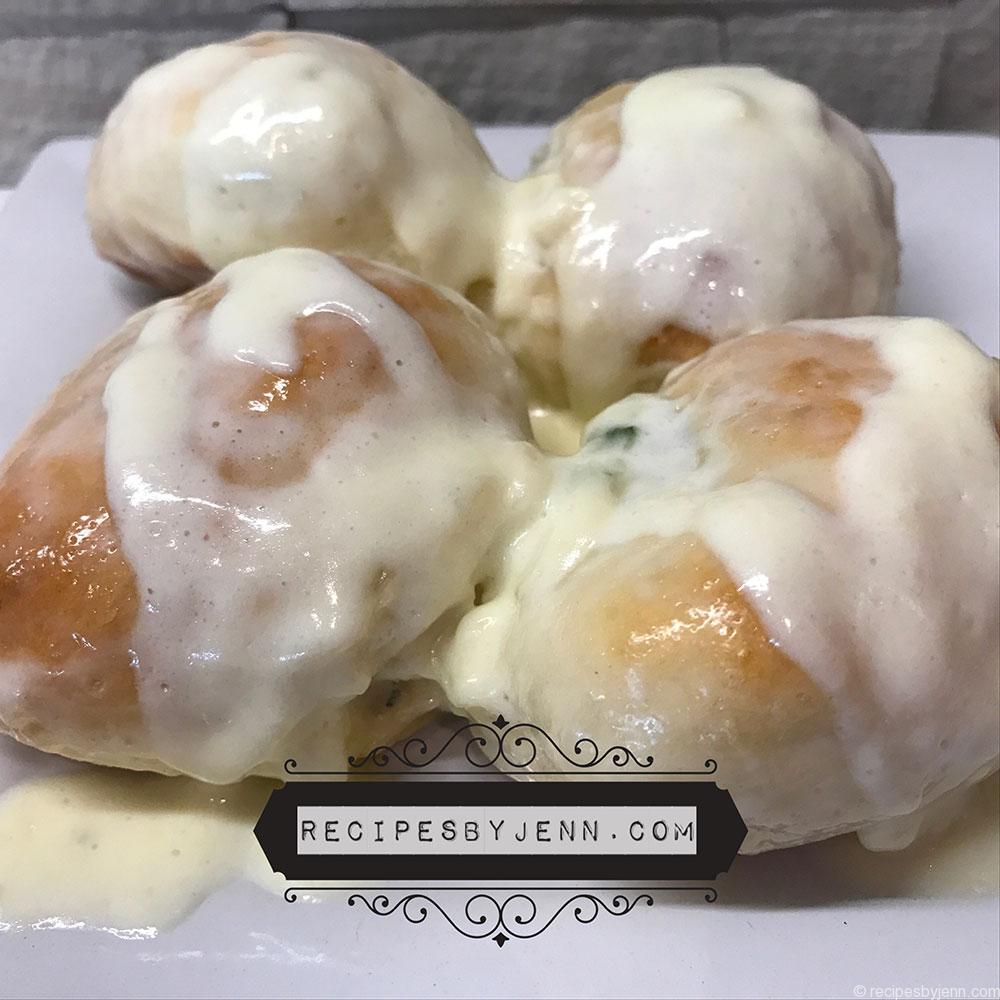
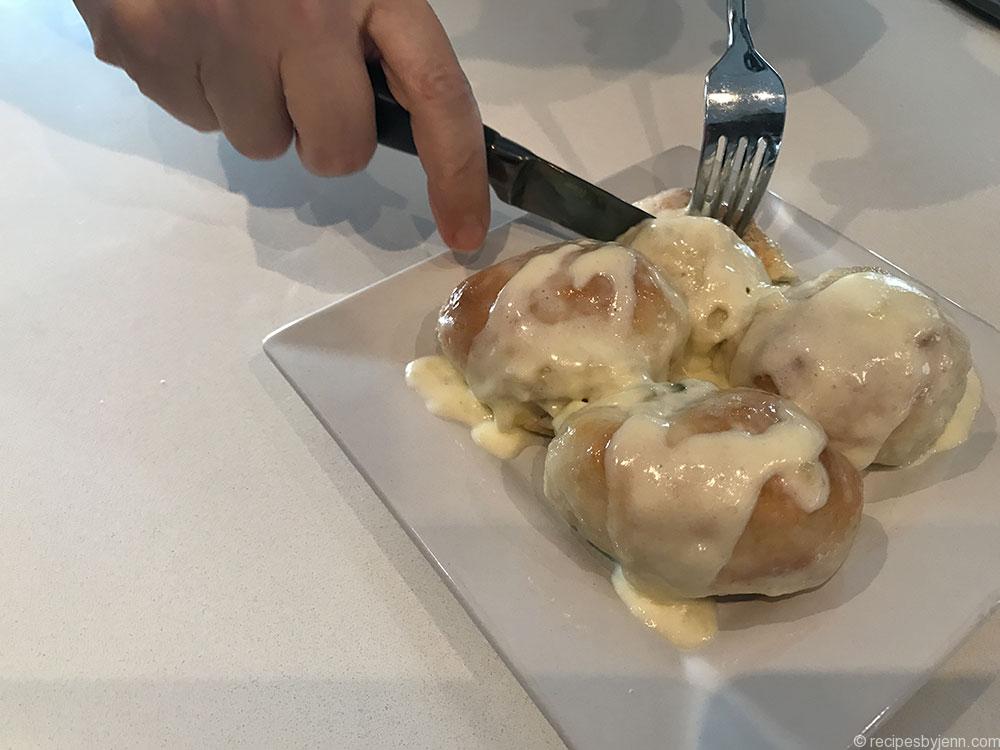
Next, scoop your dumplings onto a plate or serving dish, and drizzle just a bit of the cream over the top (or all of the cream, if you're a big cream fan ;o)

And quick! Take a photo before your kitchen monsters dig into them!! lol
When you make your own, don't forget to take a photo and share it online at Facebook, Twitter or Instagram with the hashtag #recipesbyjenn and by tagging @recipesbyjenn. That way, I can see your photos and share them with all my friends! Plus, I get to feature them on this site along with all my other photos!
Ingredients
- For the Yeast
- dry active yeast - 2 tbs
- sugar - 2 tbs
- lukewarm water - 1 cp
- For the Dough
- eggs - x 3
- canola oil - 6 tbs, plus a little more for the oiled bowl
- sugar - 1/2 cp
- sea salt - 1 tsp
- all purpose flour - 6 cps, plus more for dusting
- Cottage Cheese Filling
- cottage cheese - 2 cp, well-drained
- egg - x 2
- green onions - x 4, thinly sliced
- sea salt & cracked black pepper - sprinkles of each
- fresh dill - just a good splinkling
- To Heat Up
- Whipping cream - see instructions
- Butter - see instructions
Instructions
- Start by placing 2 tbs yeast and 2 tbs sugar in a small dish, and then add 1 cp luke warm water. Not too hot or you will burn the active element of the yeast. Give that a stir and let it set for 10 minutes until nice and frothy.
- Then, in a separate bowl, whisk together your 3 eggs until nice a blended. And then, one at a time, taking a second or two to mix together each step, add the oils (and mix), then the sugar (and mix), salt (and mix), and finally the water (and mix). Next add in your frothy yeast and stir well.
- Then you will start by adding one cup of flour at a time, stirring it together until it is almost all mixed. Dump it out onto a floured surface so that you can begin working it. At this point, you can sprinkle extra flour over the dough and your hands - just enough so that the dough is dry enough to knead, but not too dry. Go ahead and begin kneading the dough, around and around, for about 5 minutes... dusting your hands, the dough or the surface so that it's not sticking. Important - you don't want dry dough. So, expect the perfect harmony to be dry enough to knead, but almost with a 'clammy' feel when you tough it.
- Pace the dough ball into a well oiled clean bowl (I used a little extra canola and brushed it around with a paper towel), and turn the ball around so that it also becomes covered in oil. Then cover with plastic wrap and a towel and set it in a warm place to rise for one hour. After the first hour, punch down your dough a little, cover it again, and let it rise for another hour.
- A few minutes before your dough has finished rising, prepare your cottage cheese blend. Put your cottage cheese into a fine strainer and press the cheese a little to squeeze out any excess moisture. Add the cheese and remainder of filling ingredients together in a bowl and blend. Back into the strainer and set it in the bowl so that you can continue to drip away any excess moisture. You don't want the mixture too wet.
- Lift the plastic away from your dough... And punch it down a little.
- Next, start pulling away just-smaller-than-golf ball sized pieces of dough and start flattening them out. You will want to work quickly as the dough is quite elastic-y and won't stay stretched for long. Scoop a small amount of cheese blend into the centre, fold over the sides, being careful not to get the cheese mixture on the edges or it won't stick together... And then gently fold into a nice oval shape.
- Once you've finished a cookie sheet full, preheat your oven to 325°F and cover the tray in plastic wrap, letting it sit on the counter for 20 minutes while the oven heats up. Remove the plastic wrap and place the sheet into the oven for approximately 15-20 minutes. Depending on how big yours end up being, the time will vary, but you want the tops to be light golden brown.
- Add minimum 1 tbs butter (a second one if you are doing a large pan) to a deep frying pan and add in about 1/2-3/4" cream to the bottom of the pan. Let the milk start to bubble really well on low-medium heat (depending on your stove - you don't want it to burn). Once the cream starts to thicken and turn colour slightly, add in your dumplings... Flip them over a couple of times to coat... scoop your dumplings onto a plate or serving dish, and drizzle just a bit of the cream over the top.