- Yield: 5 dozen
- Prep Time: 1h 30 min
- Cook Time: 5 minutes
Pyrogies
Christmas is coming (yes, I said "Christmas" and it's still only October... ;o) and this year, I host at my house. I'm so excited and I'm determined to bring as much tradition to the table as people can stand to eat! So... pyrogy attempt once more!
I did a set over Thanksgiving, but the dough wasn't quite as awesome as I felt it could've been. Don't get me wrong - they still all got eaten up! But... I wanted just that extra little umph!
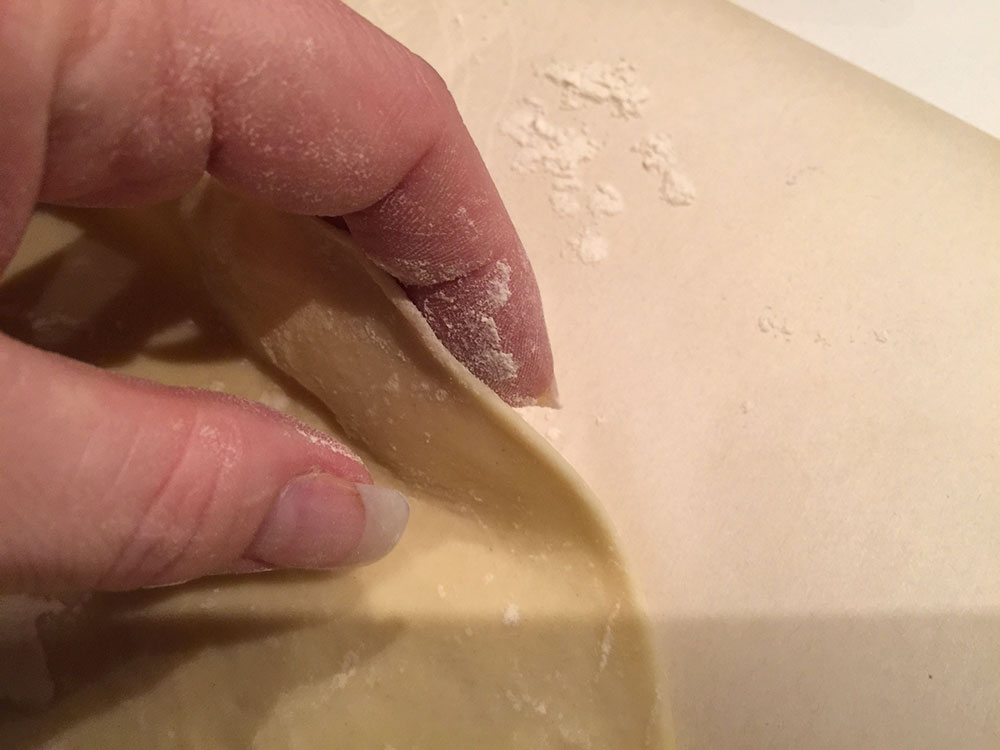
(That's what they looked like pinched by hand from Thanksgiving).
And then this week, I managed to wrangle an amazing (and the ONLY dough recipe I'll ever use for these again!) out of a German friend (funny how it took a Fijian and a German to teach me how to make pyrogies! lol). This recipe was super easy to whip together, and with the addition of my new handy dandy pyrogy press, I had 5 dozen uh-maz-zing morsels ready to be eaten in a heartbeat!
Let's get to it, shall we? The instructions are long, but trust me, once you get a handle on what you have to do, it goes quick - especially if you have a press!
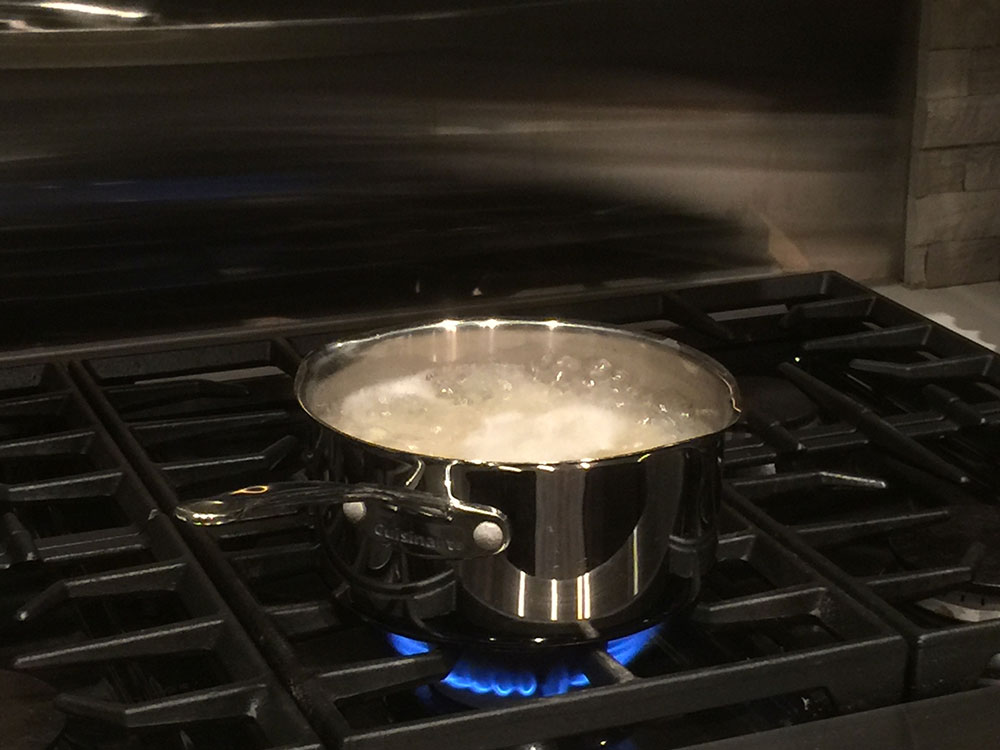
Start by prepping the potatoes. you'll do this first because you'll need the potato water. Peel, wash and slice 6 medium potatoes. Put them into a pot of water on the stove and let them boil away.
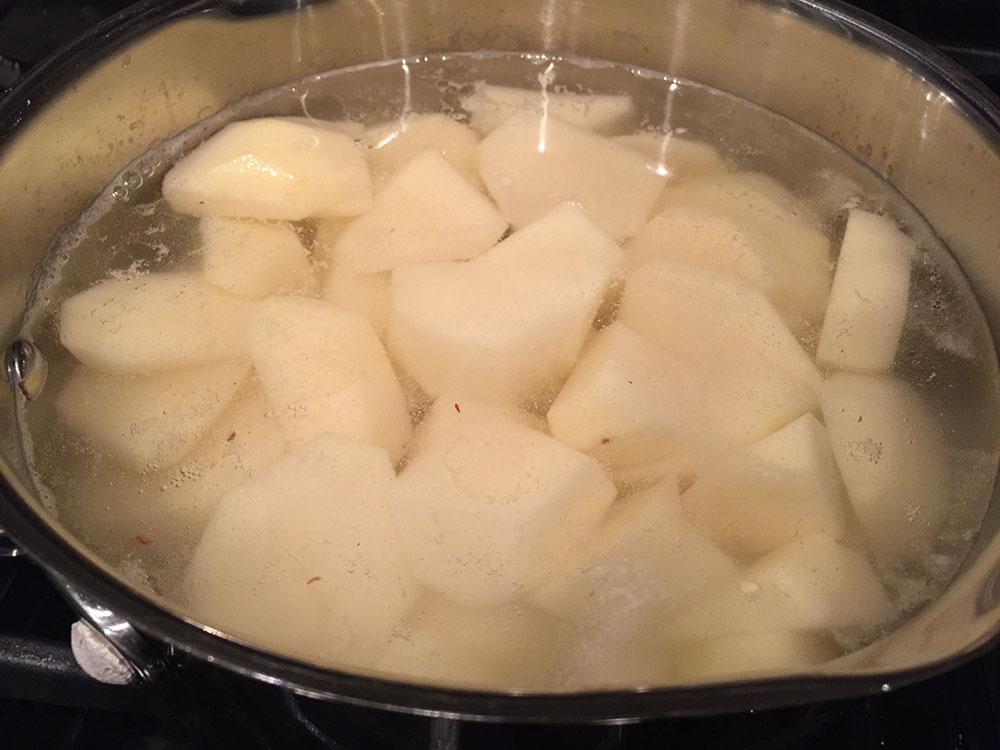
You'll know they're done when you can poke one with a fork and they easily come apart.
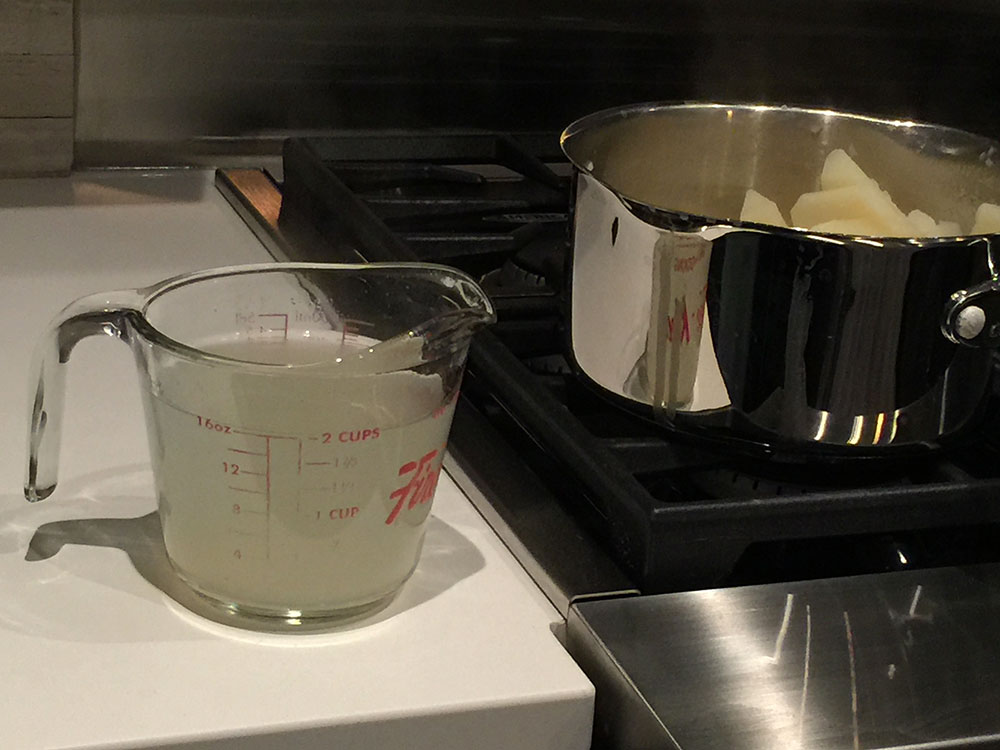
Carefully drain 2 cp of the potato water into a measuring cup, and then you can strain the remainder of the potatoes as you normally would.
Next, add to your potatoes the shredded cheddar and salt and pepper.
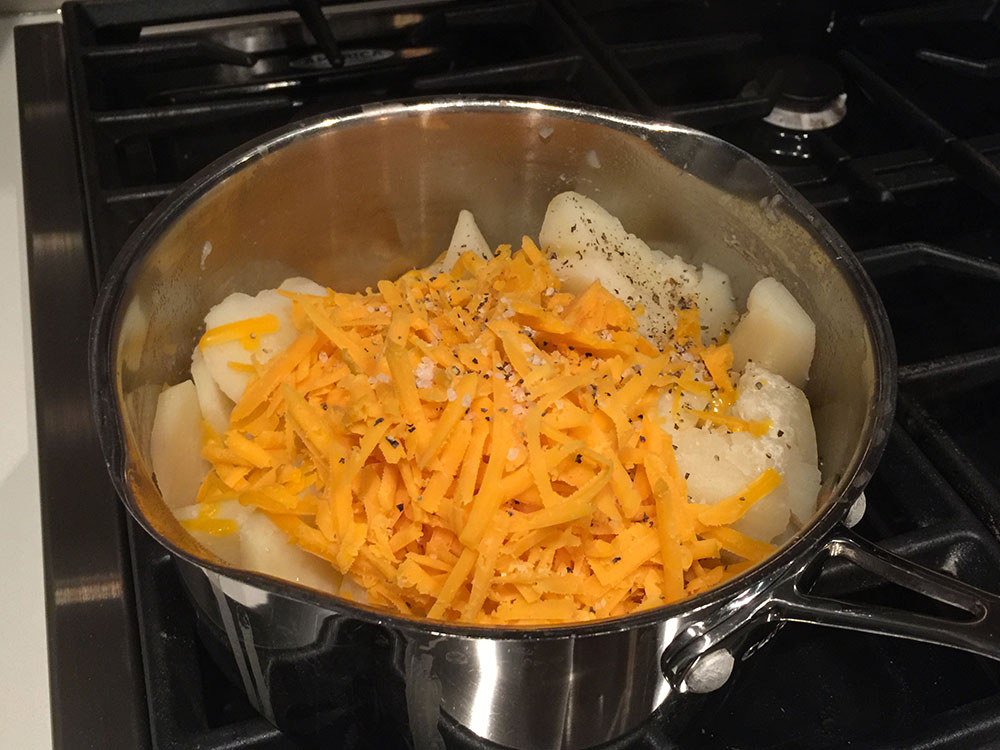
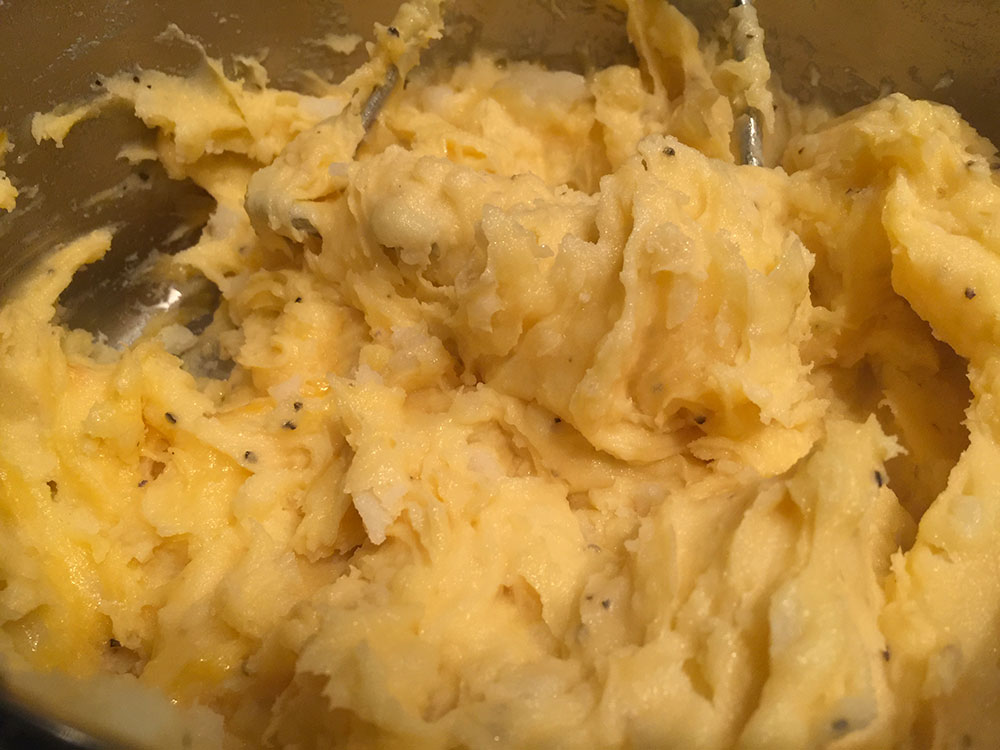
Mix it all together until you have a gooey cheesy mess!
Put the lid on and set them aside.
Now, we'll do the dough. An important point about the oil - I recommend evoo for nearly everything unless I'm using avocado oil. You have to make sure that you have a high quality DOP Certified brand (found in specialty stores). Most all other commercially produced evoo is have added chemicals and fillers which give it an over-powering synthesized olive flavour and dark green colour. This will make the dough way too olive-y. If you can't find DOP certified, then use a corn or other oil. I use one like this.
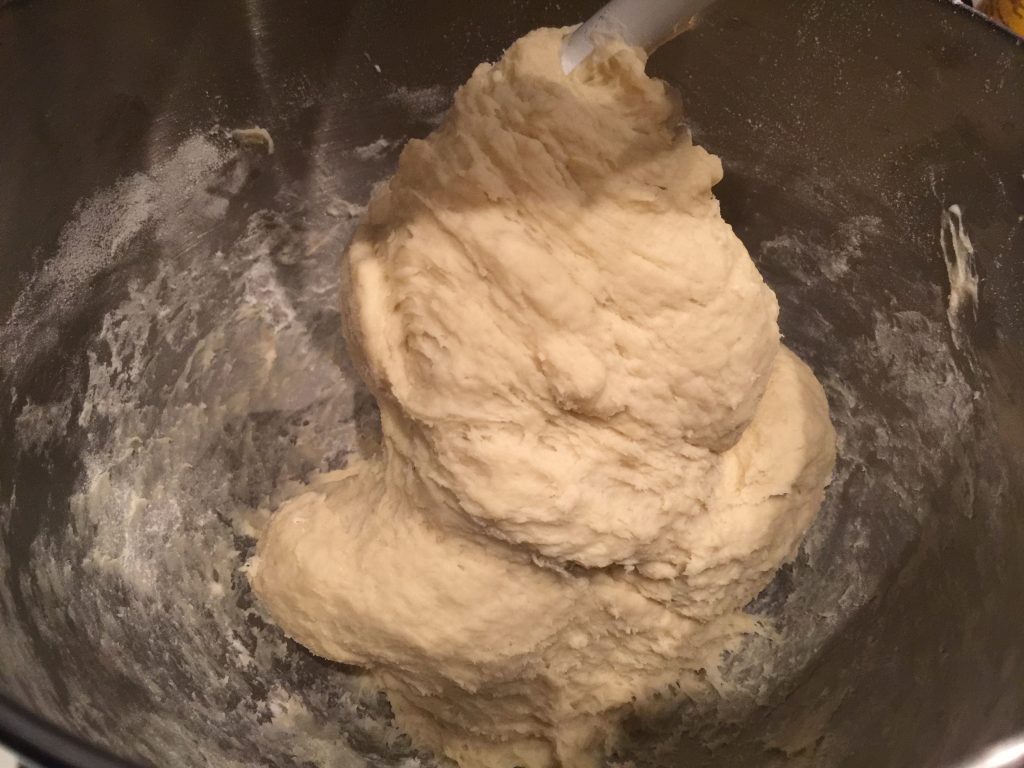
Add all of the dough ingredients - starting with only 4.5 cps of the flour - into your stand mixer with your dough hook. Blend everything together until all of the flour is added in and blended (you'll use the last 1/2 cp when kneading). Hint:
"You don't want to mix too much flour in, but sometimes need a bit extra or less depending on the humidity, etc. The dough should be very smooth and you should be able to knead it easily without having it stick everywhere." ~ Matthew
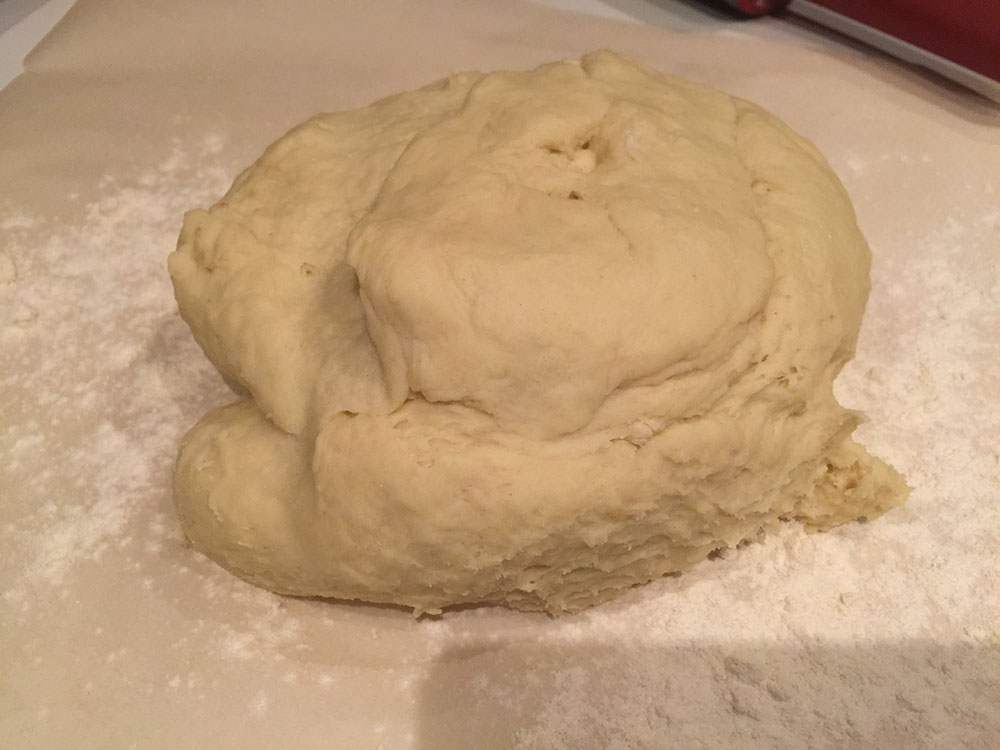
Transfer your dough to a flour-dusted sheet of parchment paper.
Sprinkle all over with the remaining 1/2 cp of flour...
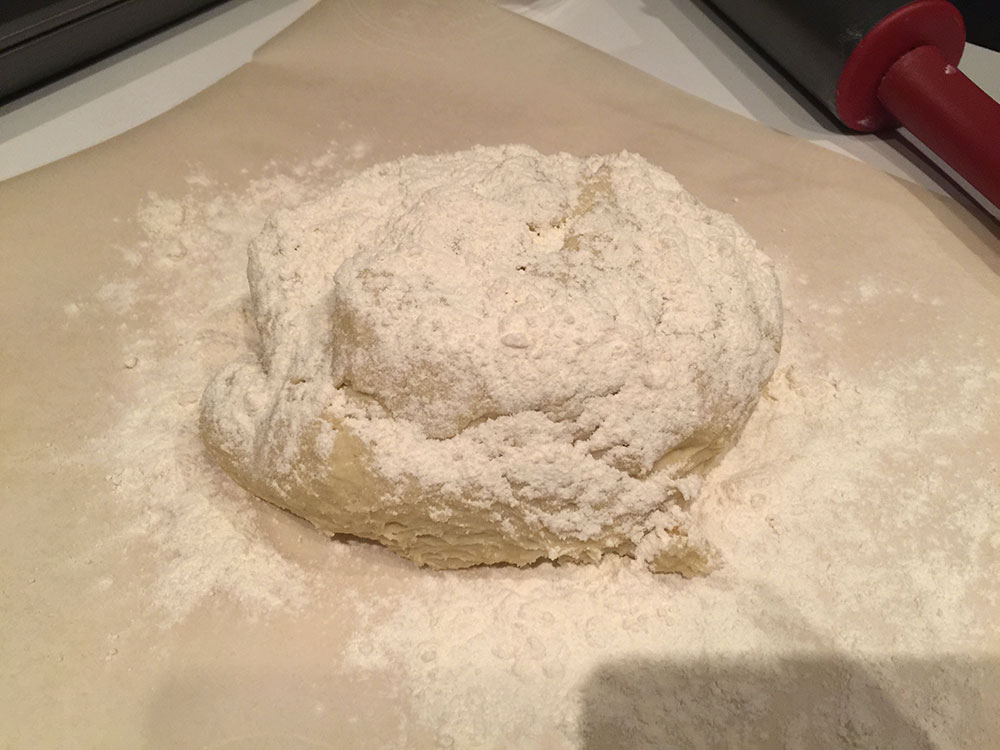
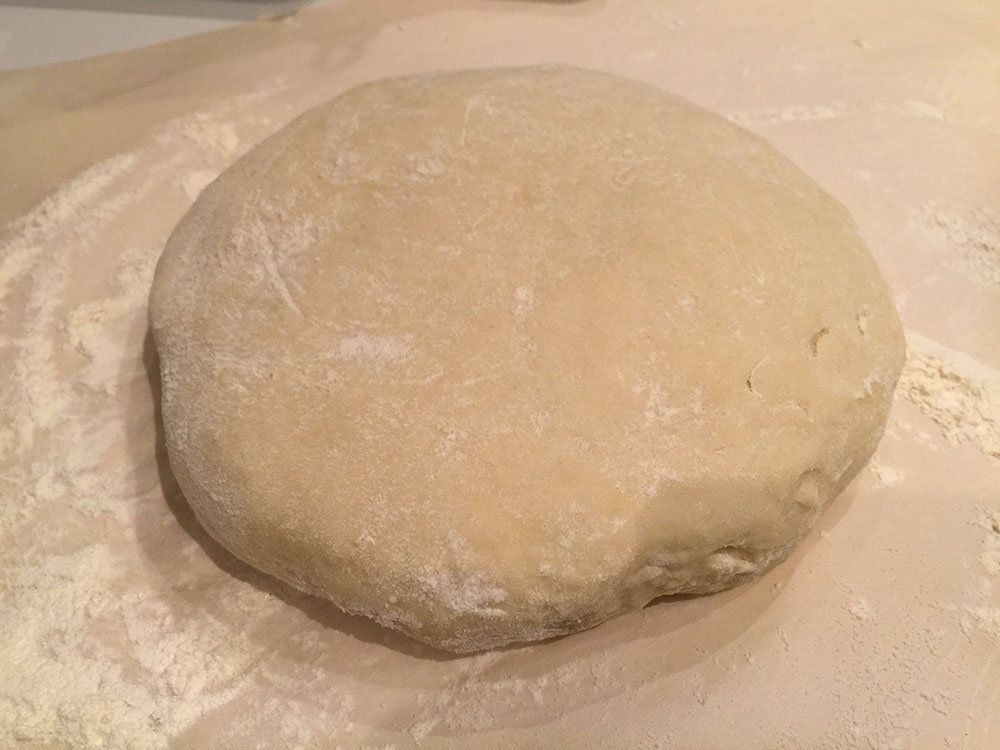
And start kneading for a few minutes until all of the dough is incorporated, lightly dusting again if the dough gets sticky around the edges.
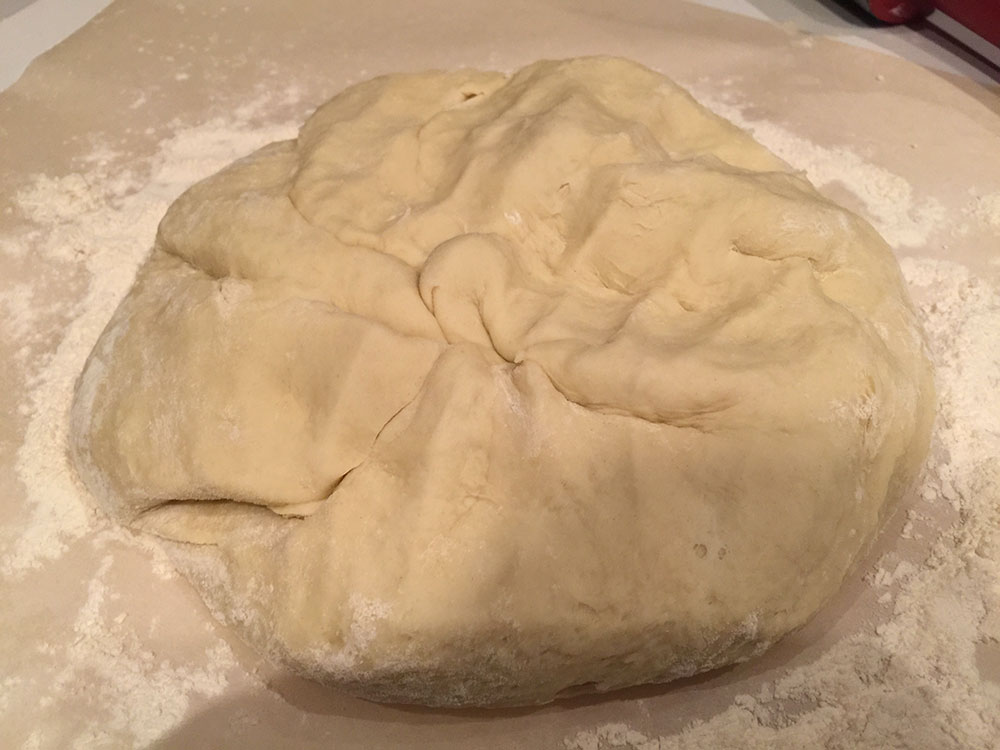
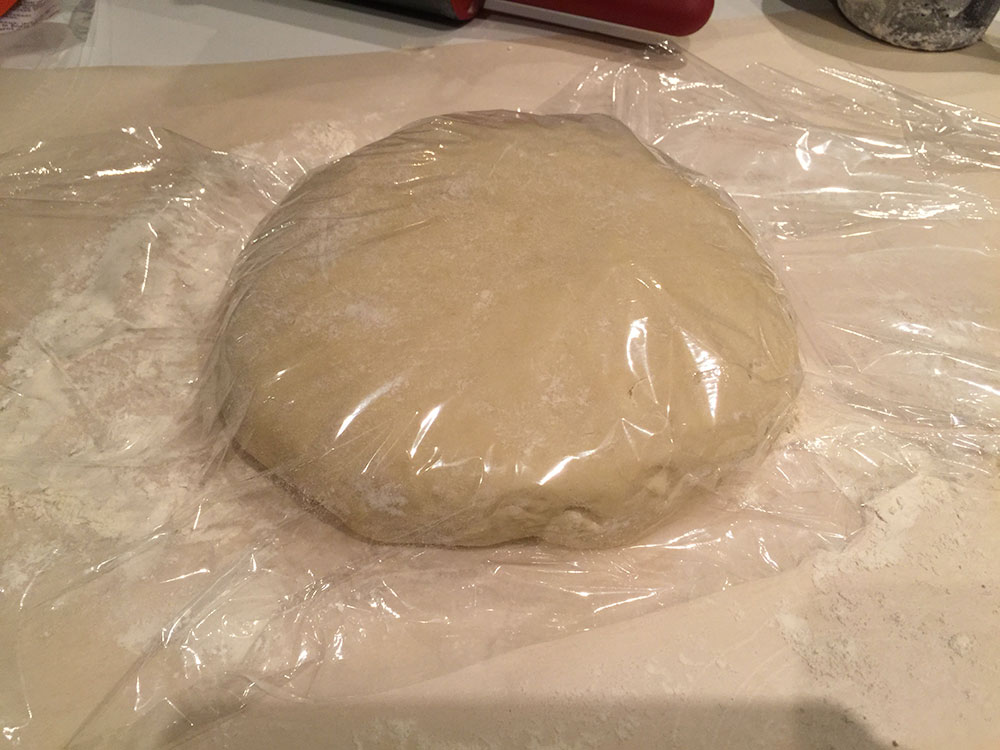
Flip it over and cover with plastic wrap. Let is sit 30-60 minutes. If you have to leave it longer, put it in the fridge (remember to let it sit at room temperature again for a bit before working with).
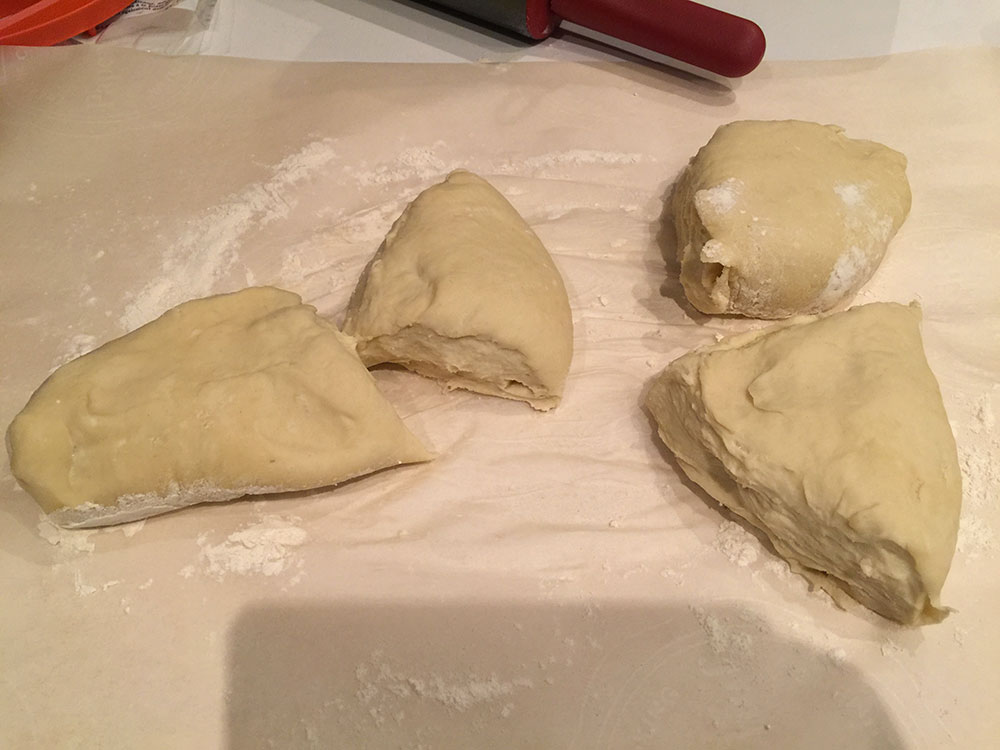
When you're ready, remove the plastic wrap and divide the dough into 4 equal pieces. You'll use one piece at a time, so set the others aside, covered, until you need them.
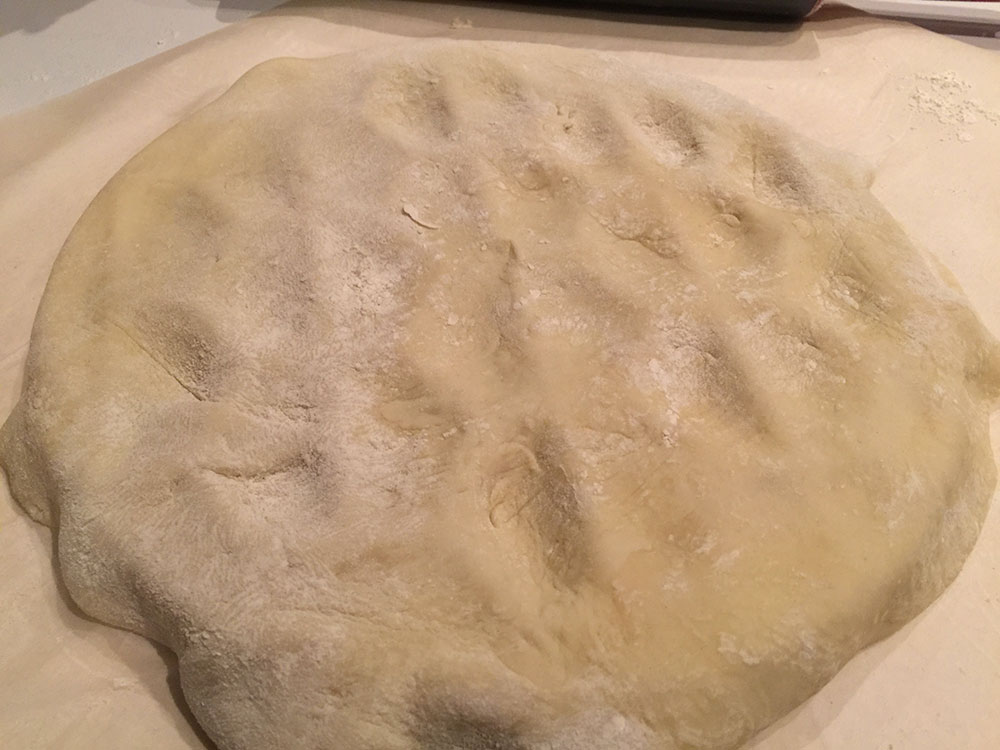
Form your piece of dough into a ball and begin pressing it out as much as you can with your hand. The dough is very elastic-y (a new word) and so pressing it out a bit first will help it to flatten out quicker with the rolling pin.
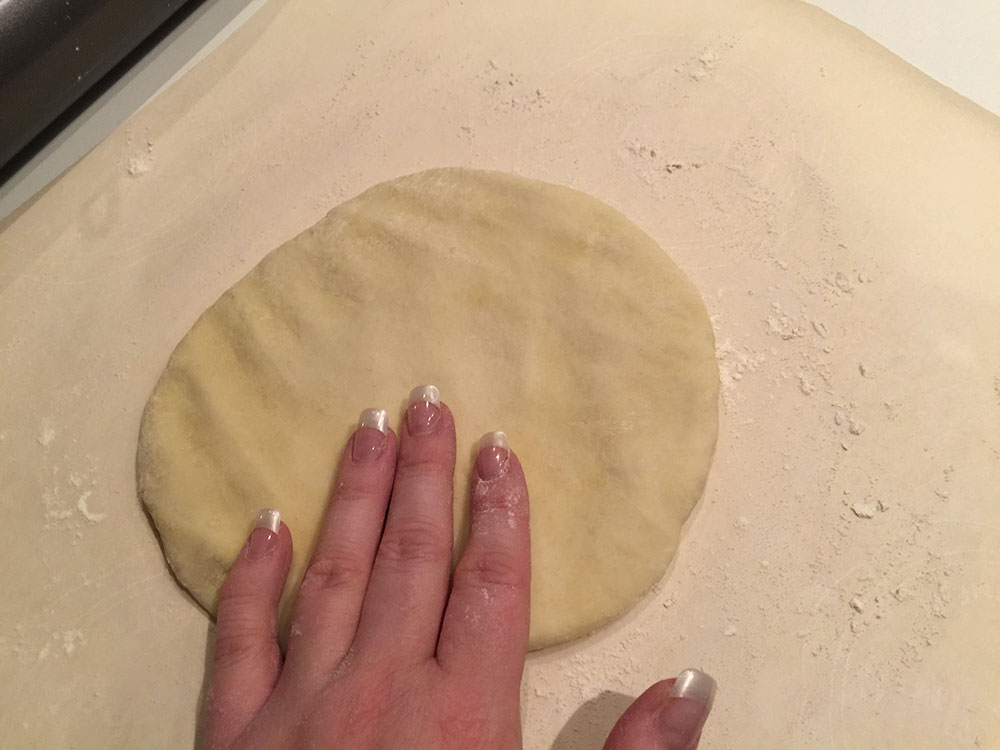
You want to roll it to about 14-16" diameter, or until it's about this thin:
Now - here's where it gets creative... you COULD do it the long way - with a cooker cutter that you fill and fold over... like I did on Thanksgiving:
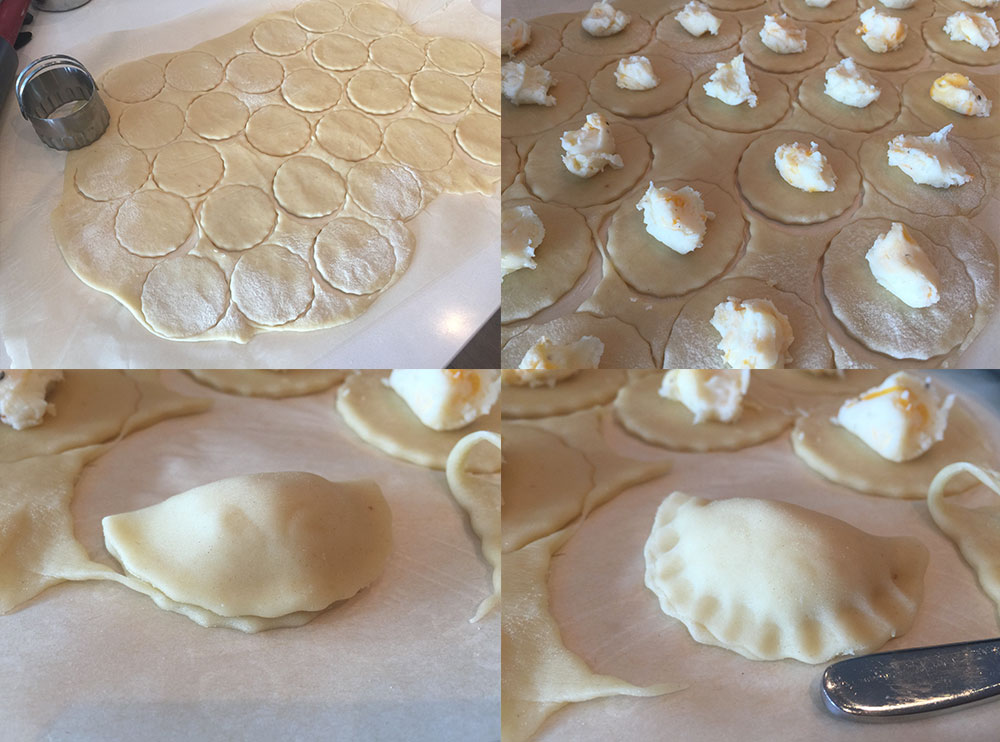
OR (!) you can simplify your life with a pyrogy press. I picked one up last weekend and was dying to give it try. It was worth every penny!
Ensure the dough is larger than the press mold:
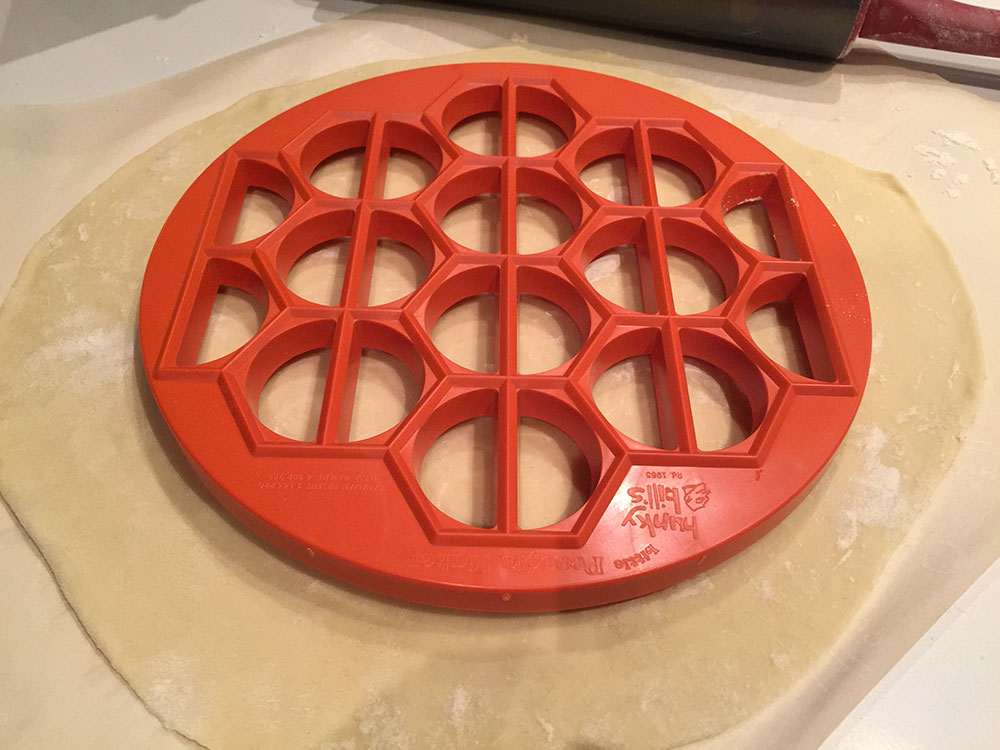
Put the dough on the top of the mold and use your fingers to indent the dough into the holes just a little.
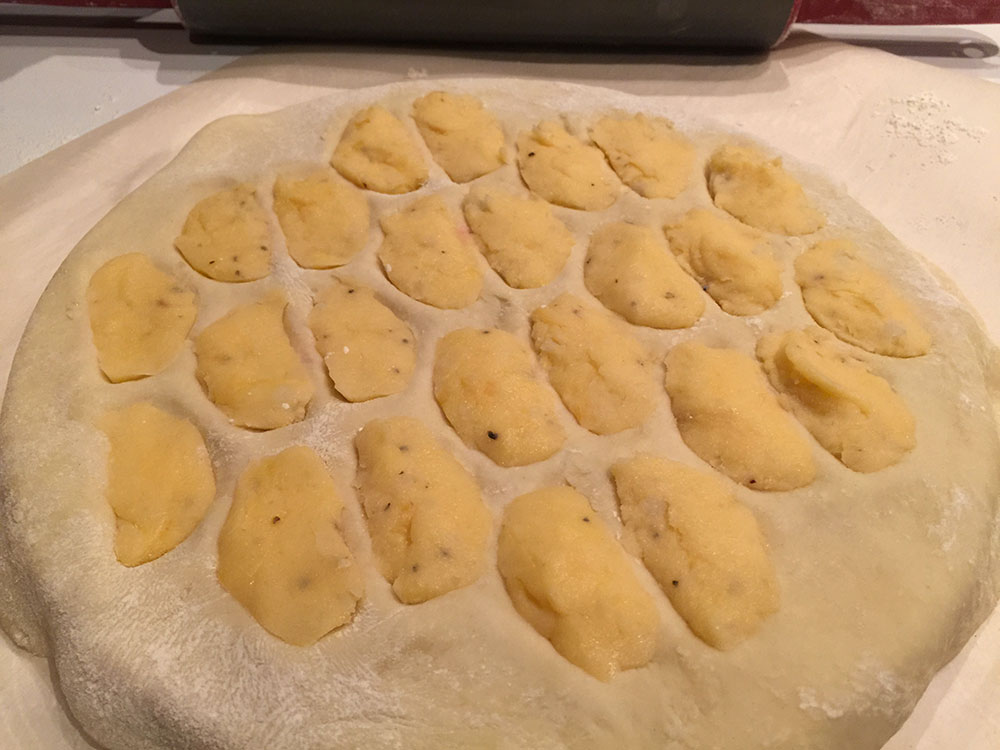
Next, using a small spoon, put about 1/2 a small spoon's worth of potato into each divot. Try to keep the potato in the divot. You don't want anything getting in the way of the seal.
Roll out another 1/4 of your dough to make the top piece and lay it on top.
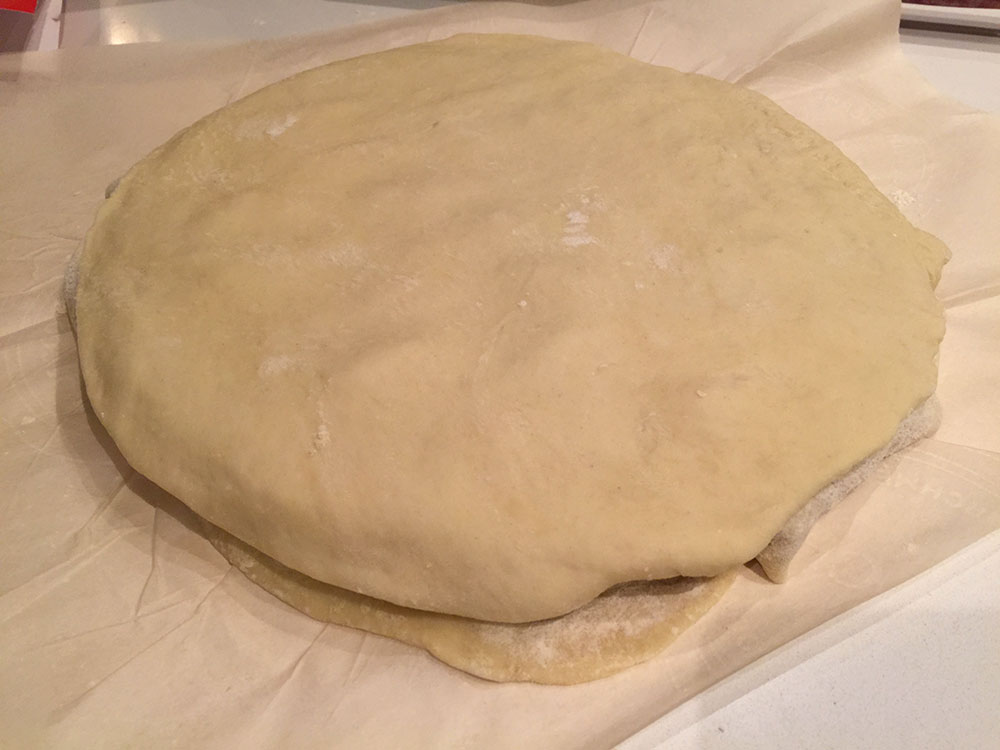
Using your rolling pin, start at the centre, gently press and roll slowly down, applying a little pressure. You will begin to see the cut marks.
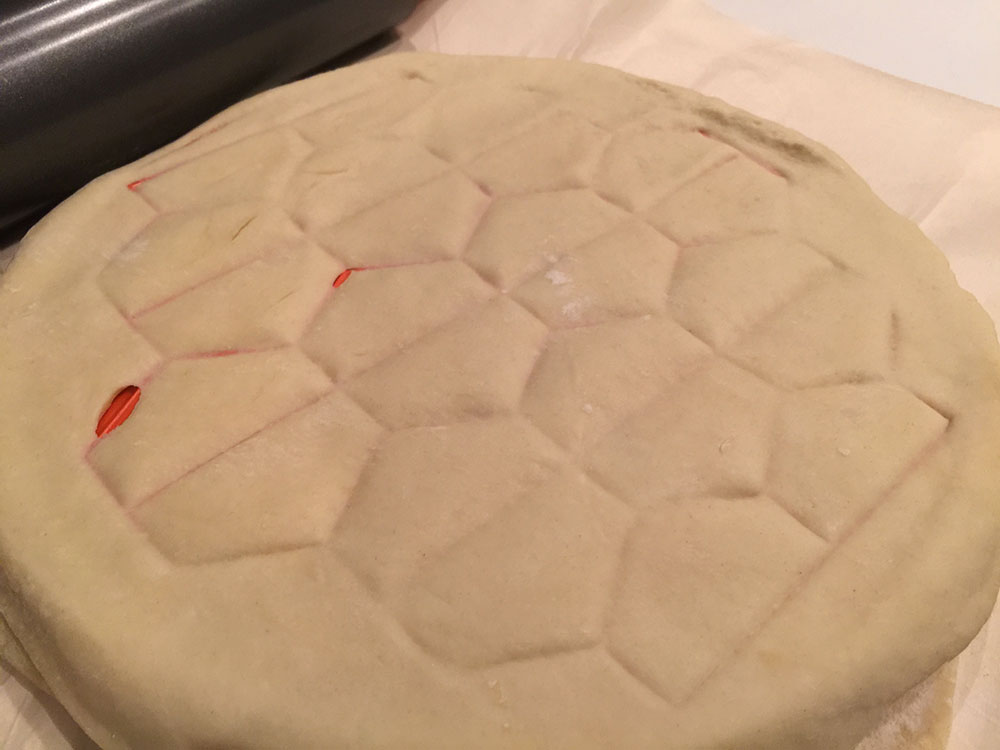
Repeat a couple of times - gently - until the dough has been 'cut' around each pyrogy.
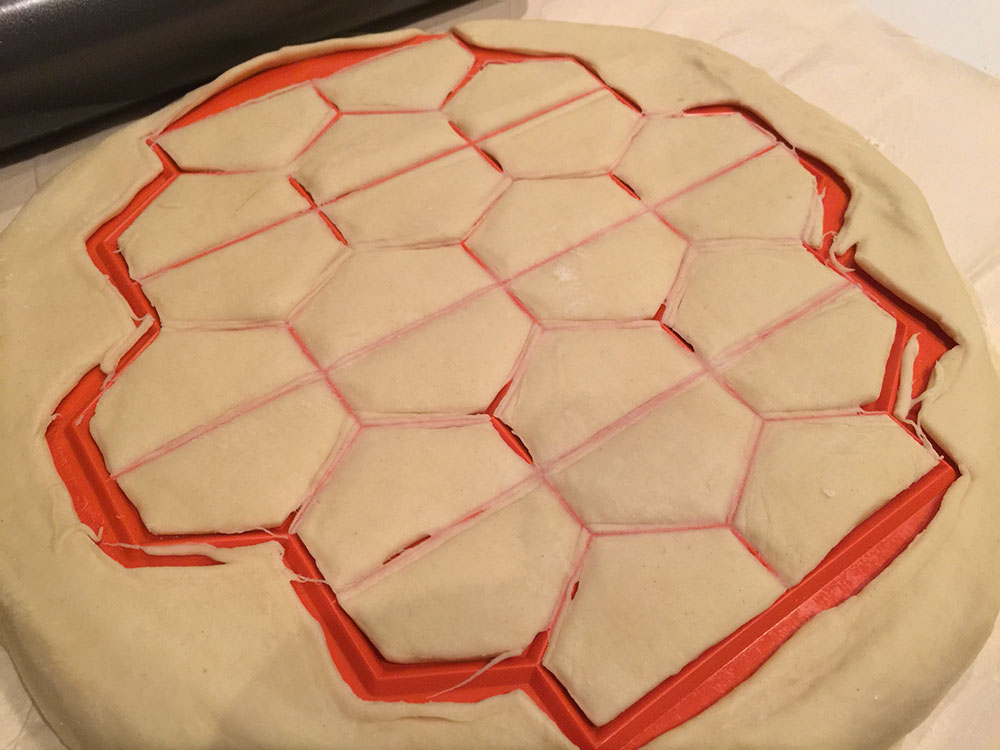
LOOK!!!!!! That's the underside when you remove the excess dough (set that aside, btw, because you'll still use it later... just cover it).
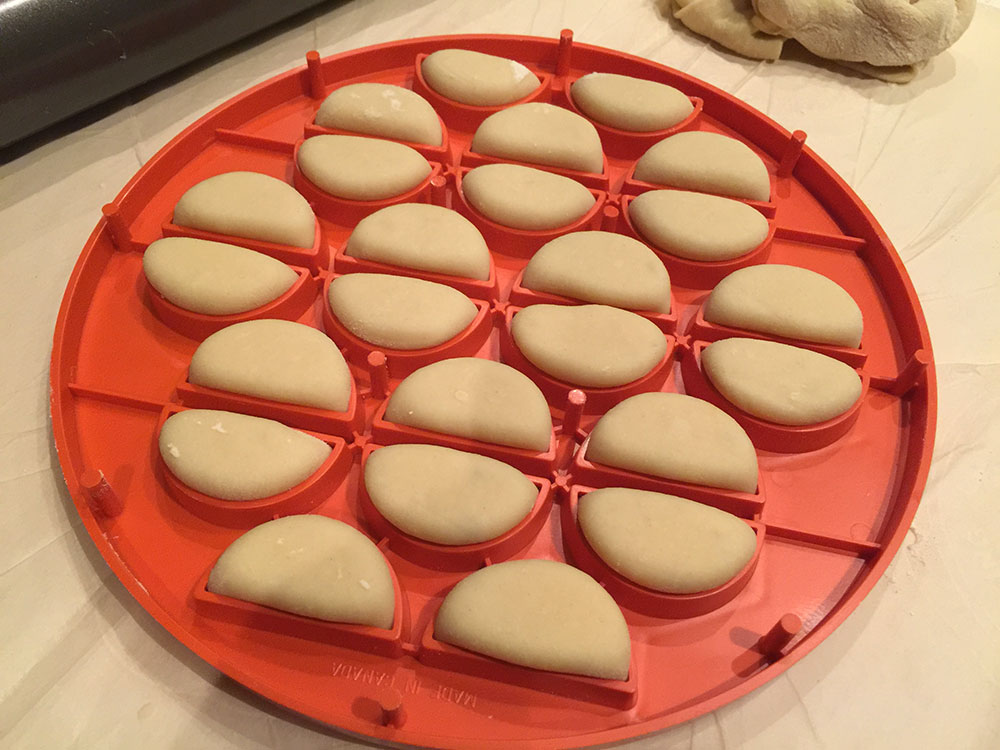
Now, VERY GENTLY start working each pyrogy out of the mold. If you dust the mold before using it, this will go quicker (which I found out on round two).
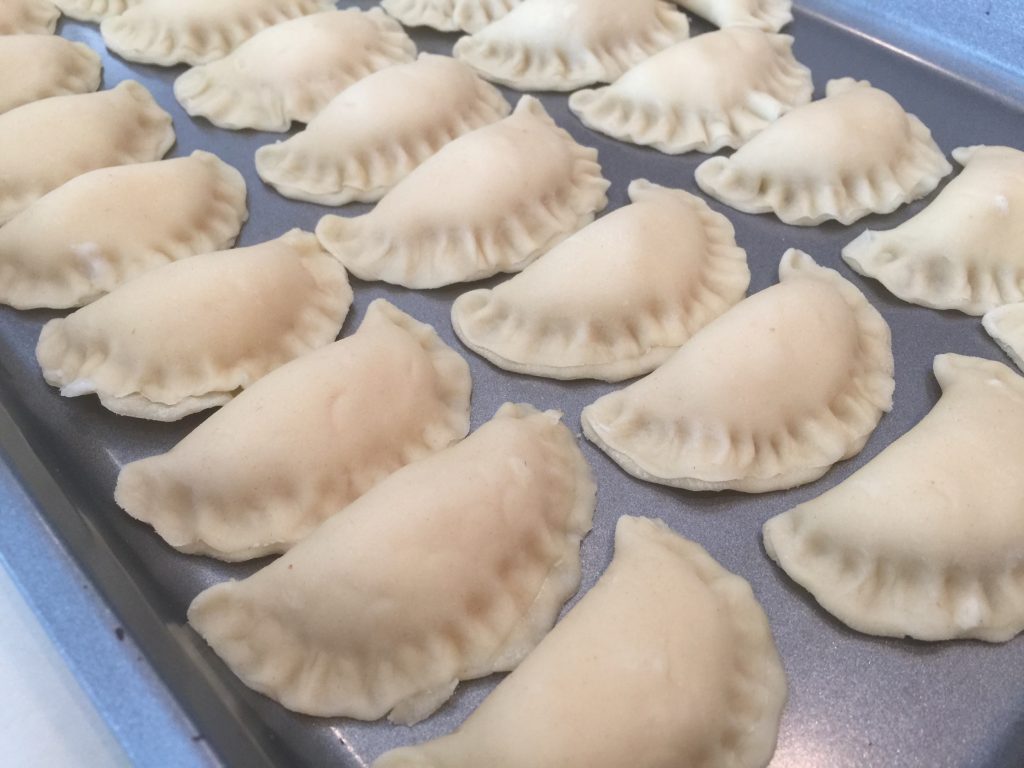
Just look at how FAT they are! The seal was perfect and they were so plump.
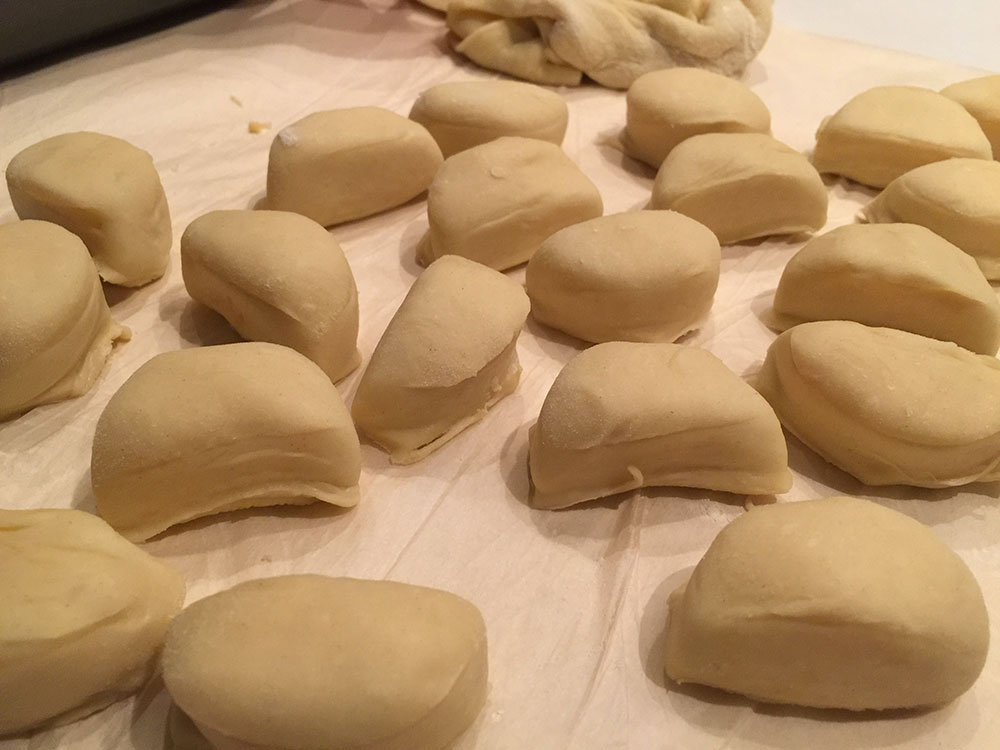
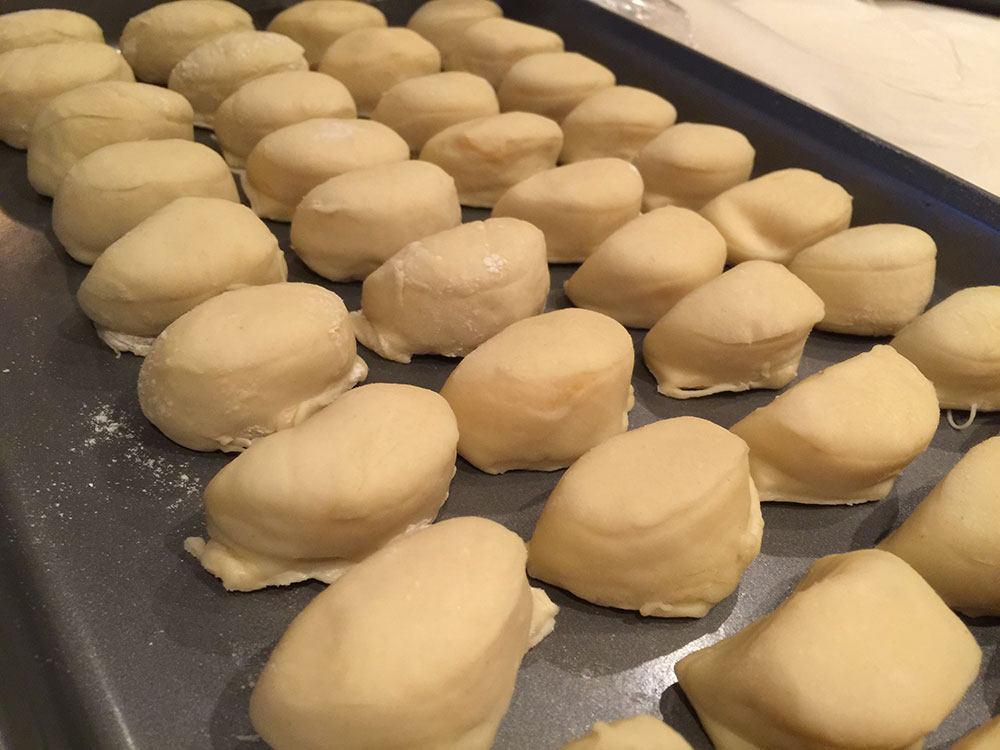
Put these onto a cookie sheet, cover and put them in the freezer. And start all over again!
I used up the third and fourth quarters of my dough on the second batch, and then with the leftover dough, made another half batch. Altogether I got 64 pyrogies. 5 dozen to freeze, and 4 to sample lol.
Once the pyrogies are frozen (which helps them to maintain their shape when cooking), you can heat a pot to a slow boil (not too fast or they will explode). (Exploding pyrogies... heehee...). Add a tbs of evoo to the pot and drop in your pyrogies being careful not to overcrowd the pot.
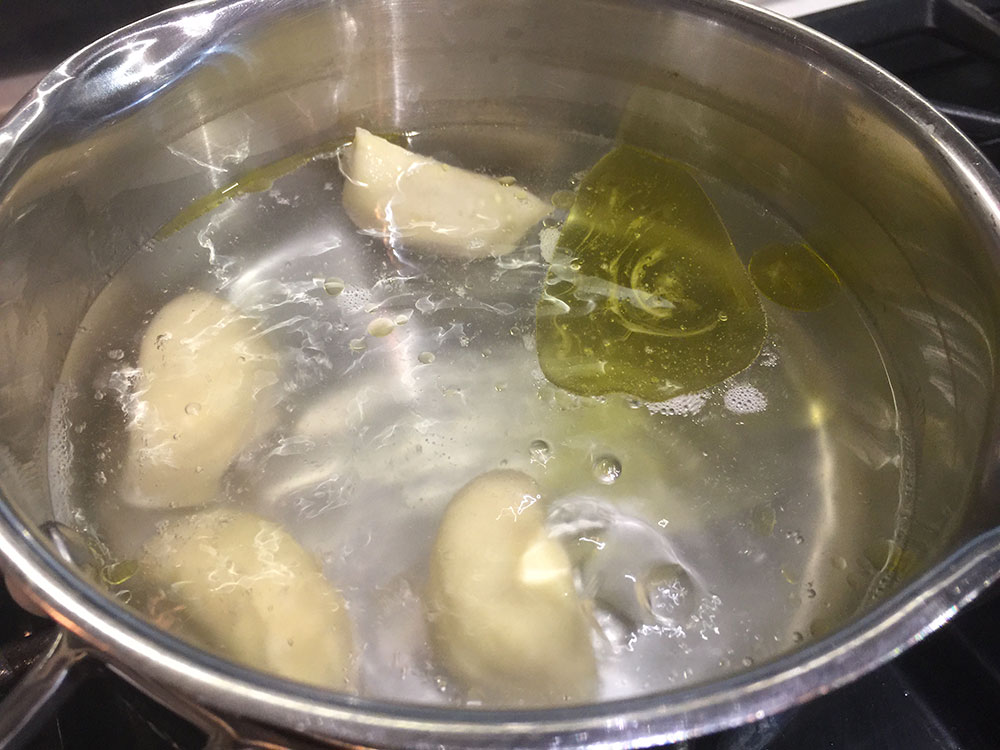
(Yes, we only tested 4)
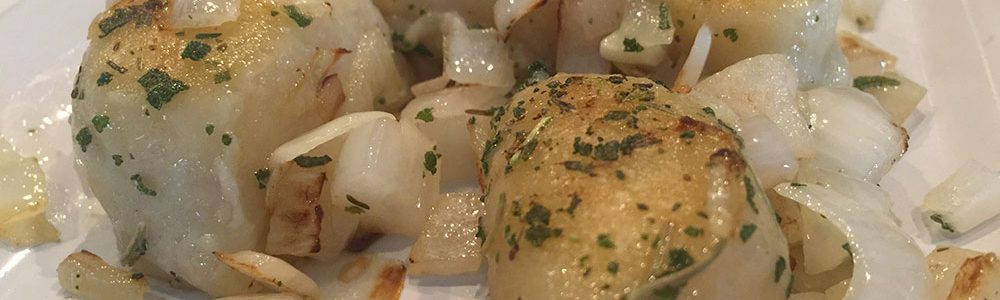
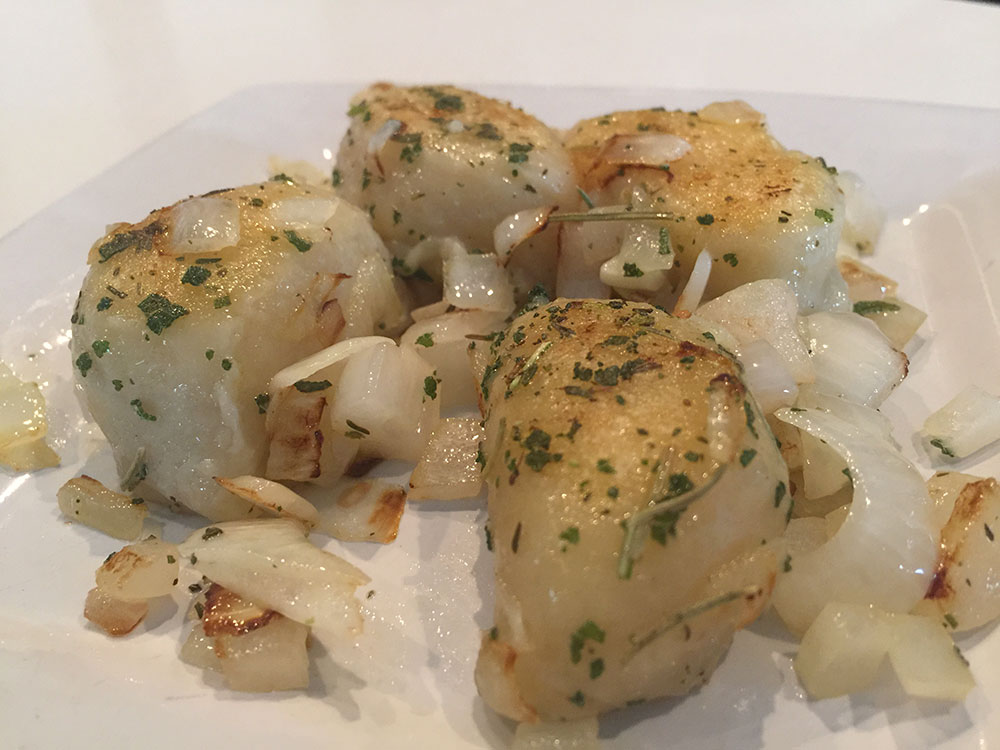
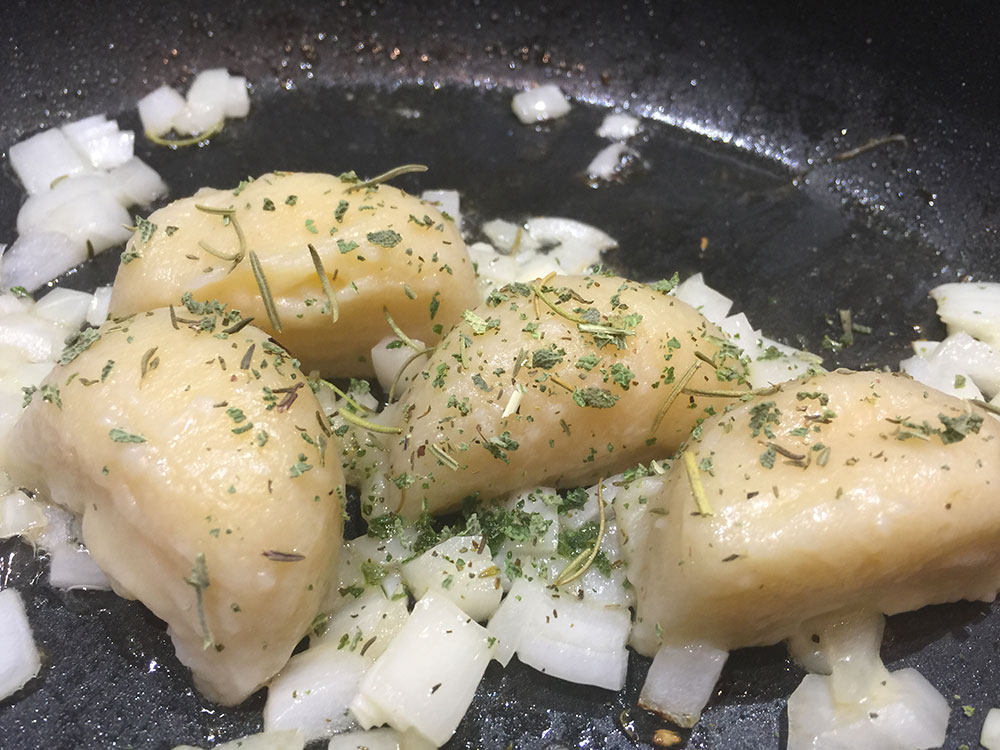
Boil for 7-8 minutes and then remove from the water. In a heated frying pan, melt your butter and add your diced onion. When it starts to brown, add in the pyrogies. Sprinkle with sage and rosemary (those from my Fijian friend), and cook until they brown on both sides.
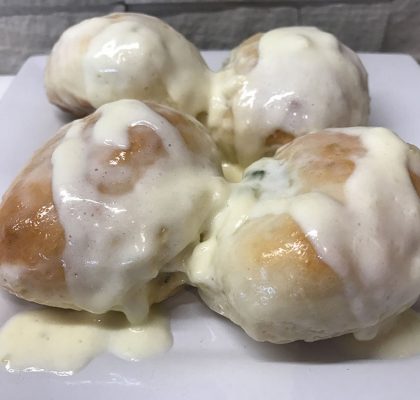
You can eat them as they are, or add sour cream. Whatever you like!!

Just look at those bad boys! go ahead! Give them a try. A HUGE thanks to Matthew for his amazing dough recipe, and to my Fiji friend (I'm sorry, age has stolen my memory for your name).
When you make your own, don't forget to take a photo and share it online at Facebook,Twitter or Instagram with the hashtag #recipesbyjenn and by tagging @recipesbyjenn. That way, I can see your photos and share them with all my friends! Plus, I get to feature them on this site along with all my other photos!
Ingredients
- Dough
- all-purpose flour - 5 cp, plus more for dusting
- evoo - 1/2 cp
- potato water - 2 cp
- sea salt - 2 tsp
- Cheddar potato filling
- potatoes - 6 medium, peeled and sliced
- cheddar cheese - 2 cp, shredded
- sea salt & cracked black pepper
- Frying the pyrogies
- butter - 2 tbs
- dried sage - sprinkle
- dried rosemary - sprinkle
- onion - diced
Instructions
Potatoes
- Peel, slice and wash your potatoes. Boil them until they break apart when poked with a fork (approx 20 minutes depending on how small the sliced pieces are)
- Carefully drain 2 cp of the potato water into a measuring cup and set aside
- Add the cheese, salt and pepper to the potatoes and blend until the cheese has completely melted. Cover and set aside.
Pyrogy dough
- Add all dough ingredients to your stand mixer - starting with only 4 cps of flour - and mix on low, scraping down the sides as necessary until everything is blended (approx 6-8 minutes).
- Continue adding a little flour at a time until the dough is sticky, but can still be handled.
- Transfer the dough to a flour-dusted sheet of parchment paper, dusting the top with dough and kneading for approx 5 minutes, adding a dusting of flour whenever the dough feels a little sticky to touch). The finished dough will be very soft.
- Cover the dough on the counter with plastic wrap and let it sit for 30-60 minutes.
Filling the pyrogies
- Cut the dough into 4 equal pieces and, working 1 piece at a time (covering the remaining 3 pieces until you use them), press the dough out into a circle shape with your hands, starting the flattening process.
- Using a dusted rolling pin, roll the dough from the centre out until you have a piece approx 14" in diameter.
- Proceed to use your mold to fill pockets with potatoes, cover with additional dough and press (as illustrated above), or use a 3" cookie cutter to cut circles to fill (folding the circle in half and pinching shut).
- Place molded pyrogies on cookie sheets and cover with plastic wrap, placing them in the freezer until they are solid. Divide into baggies and store until ready to use.
Cooking the pyrogies
- Start a pot on a slow boil, and add a tbs evoo to the water.
- Drop into the water a handful of pyrogies at a time. Allow them to boil for 7-8 minutes.
- Remove with a strainer spoon, and add to a frying pan with butter, sage and rosemary, frying until browned. Serve with sour cream.